How To Pose For Dance Photos
Capturing stunning dance photos isn’t just about the photographer—it’s about how you prepare, pose, and connect with the camera. In this guide, you’ll learn how to pose for dance photography, with tips for creating timeless and elegant poses that highlight your unique style and strengths. Whether you’re a seasoned professional dancer or this is your first time having professional dance photos taken, this post will help you approach your photoshoot with confidence and creativity.
Understanding Posing for Dance Photography
Dancing for camera, how it’s different from class and rehearsal:
In dance classes and rehearsals, most movements are directed toward the diagonals of the space.
For photos, we are working with 2D space instead of the 3D that we are used to working in with live dancing. In order to “flatten” your shapes to translate to camera, we essentially eliminate the diagonals and work primarily flat. This will affect your alignment. So, for dance photos, we are translating what your shape looks like in person to a 2D photograph, so your approach is going to look differently, and perhaps not always technically correct when you’re working on a dance photoshoot.
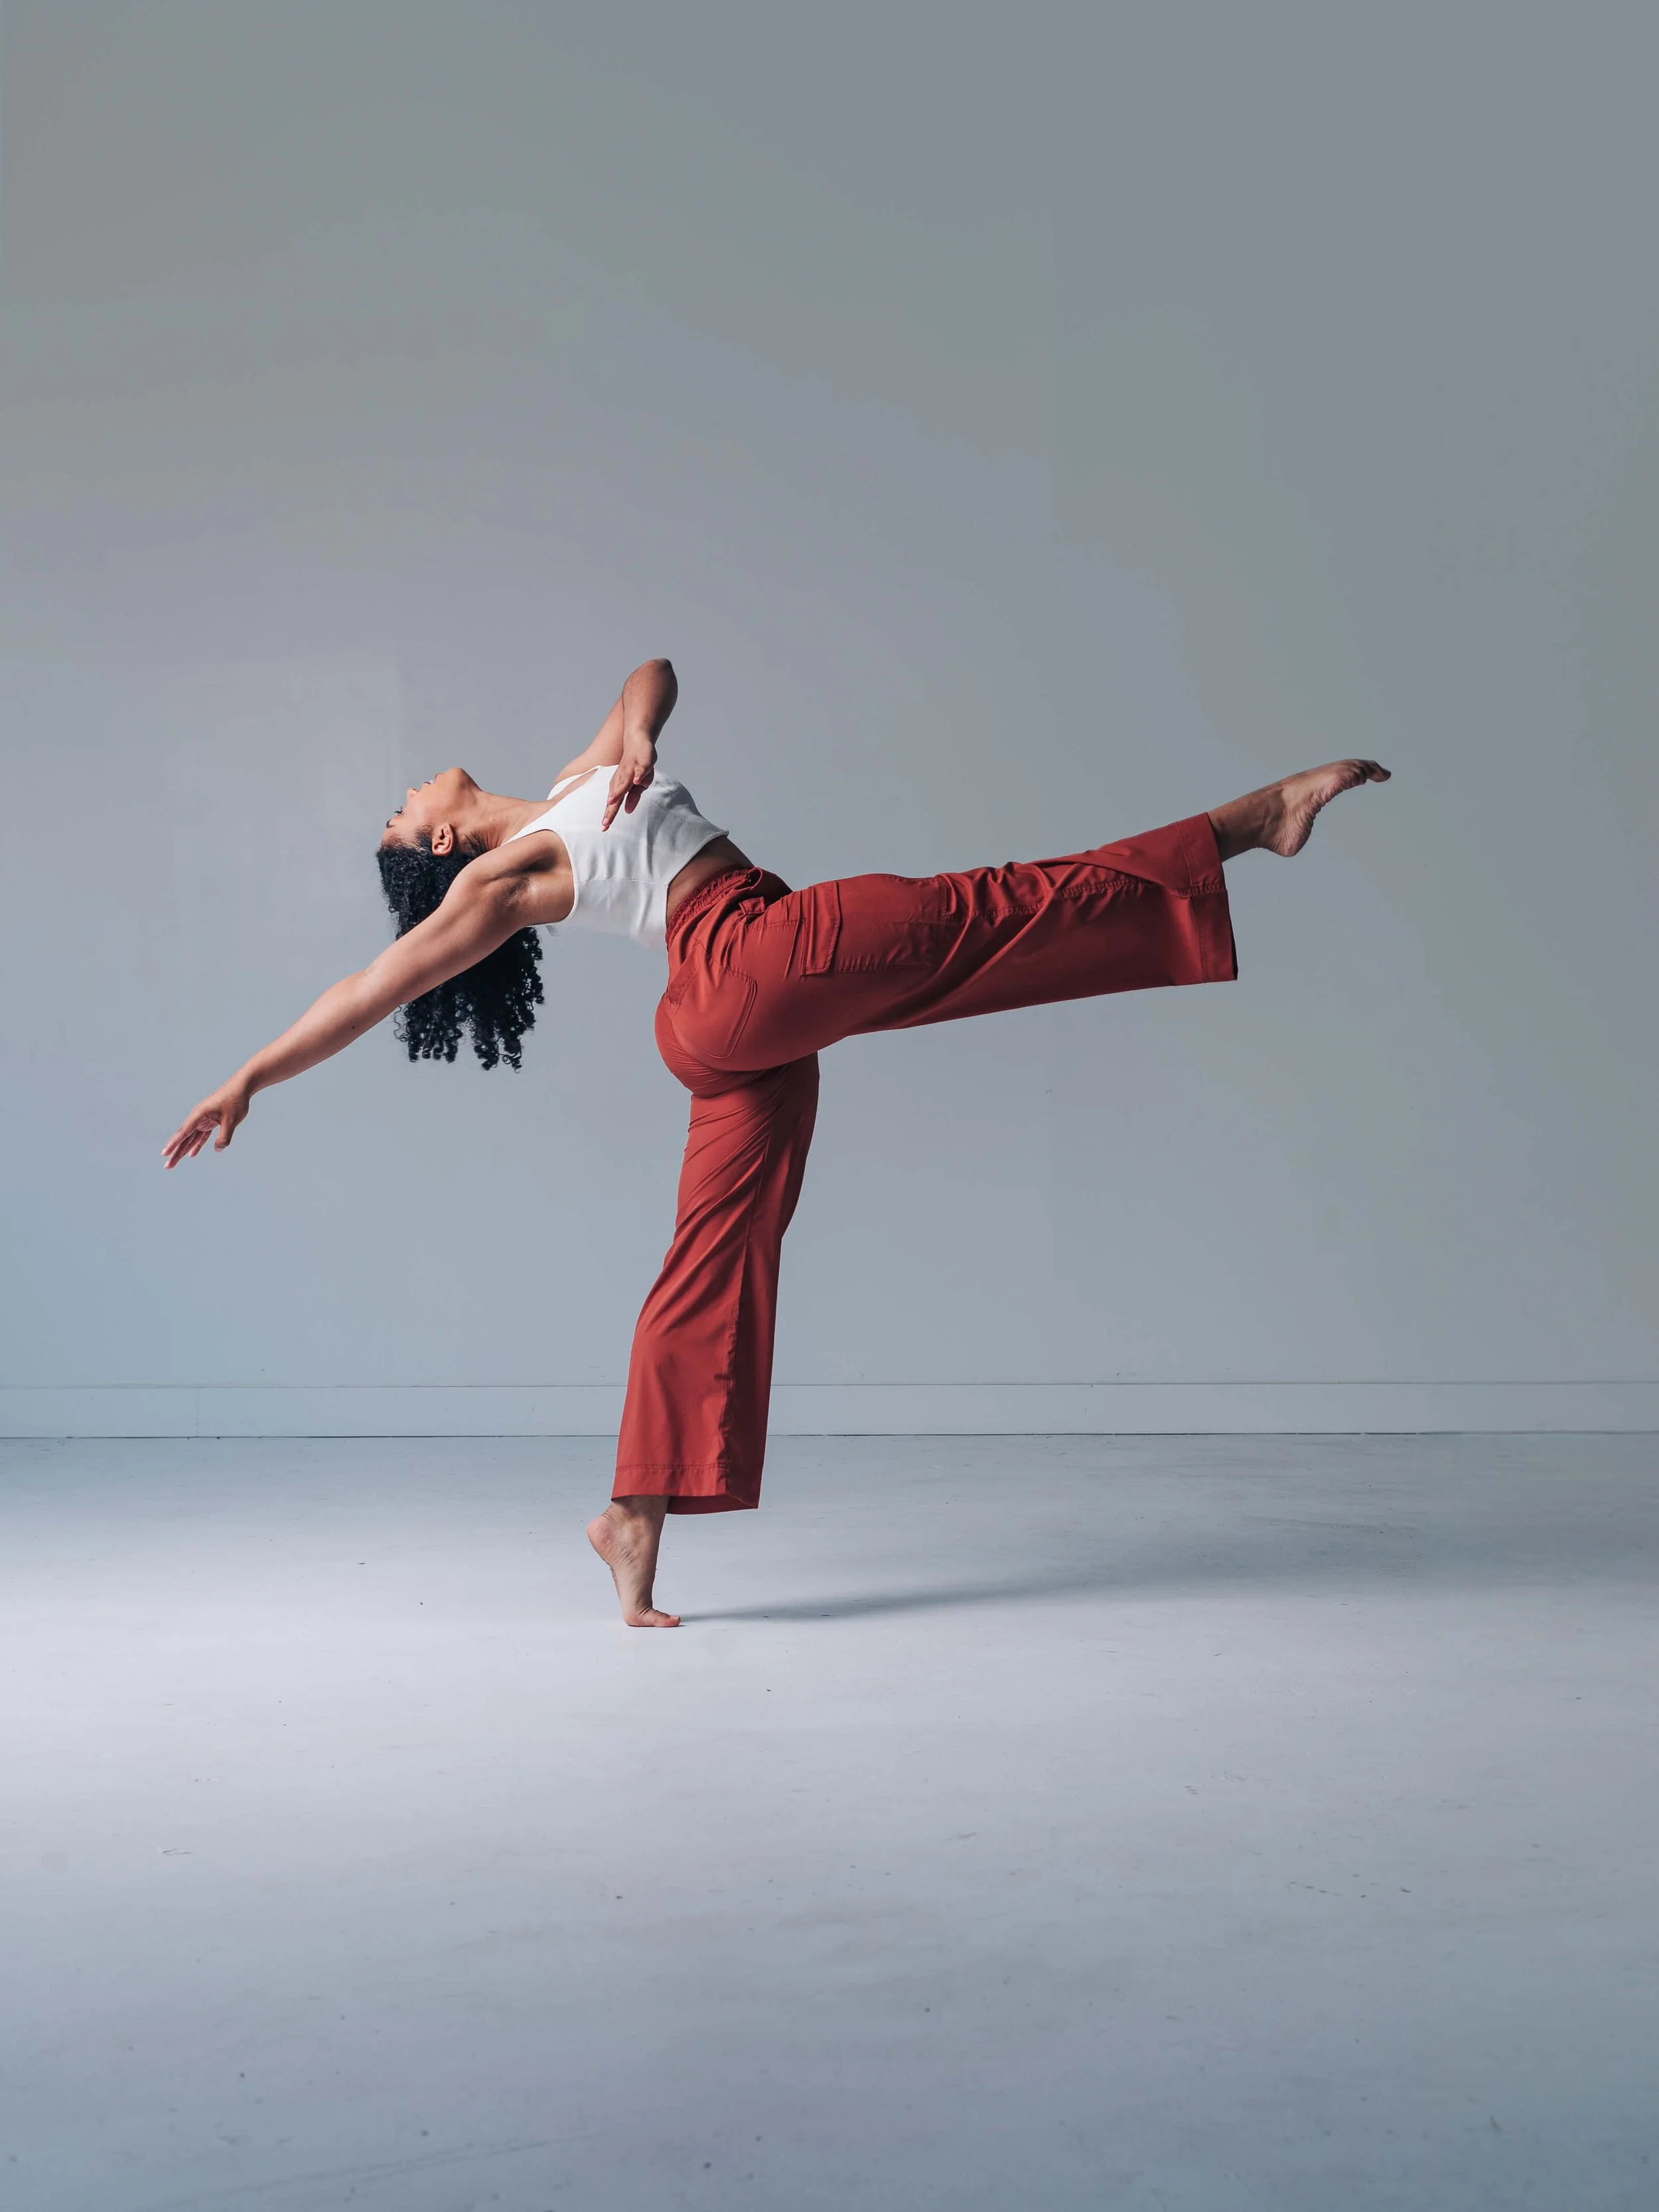
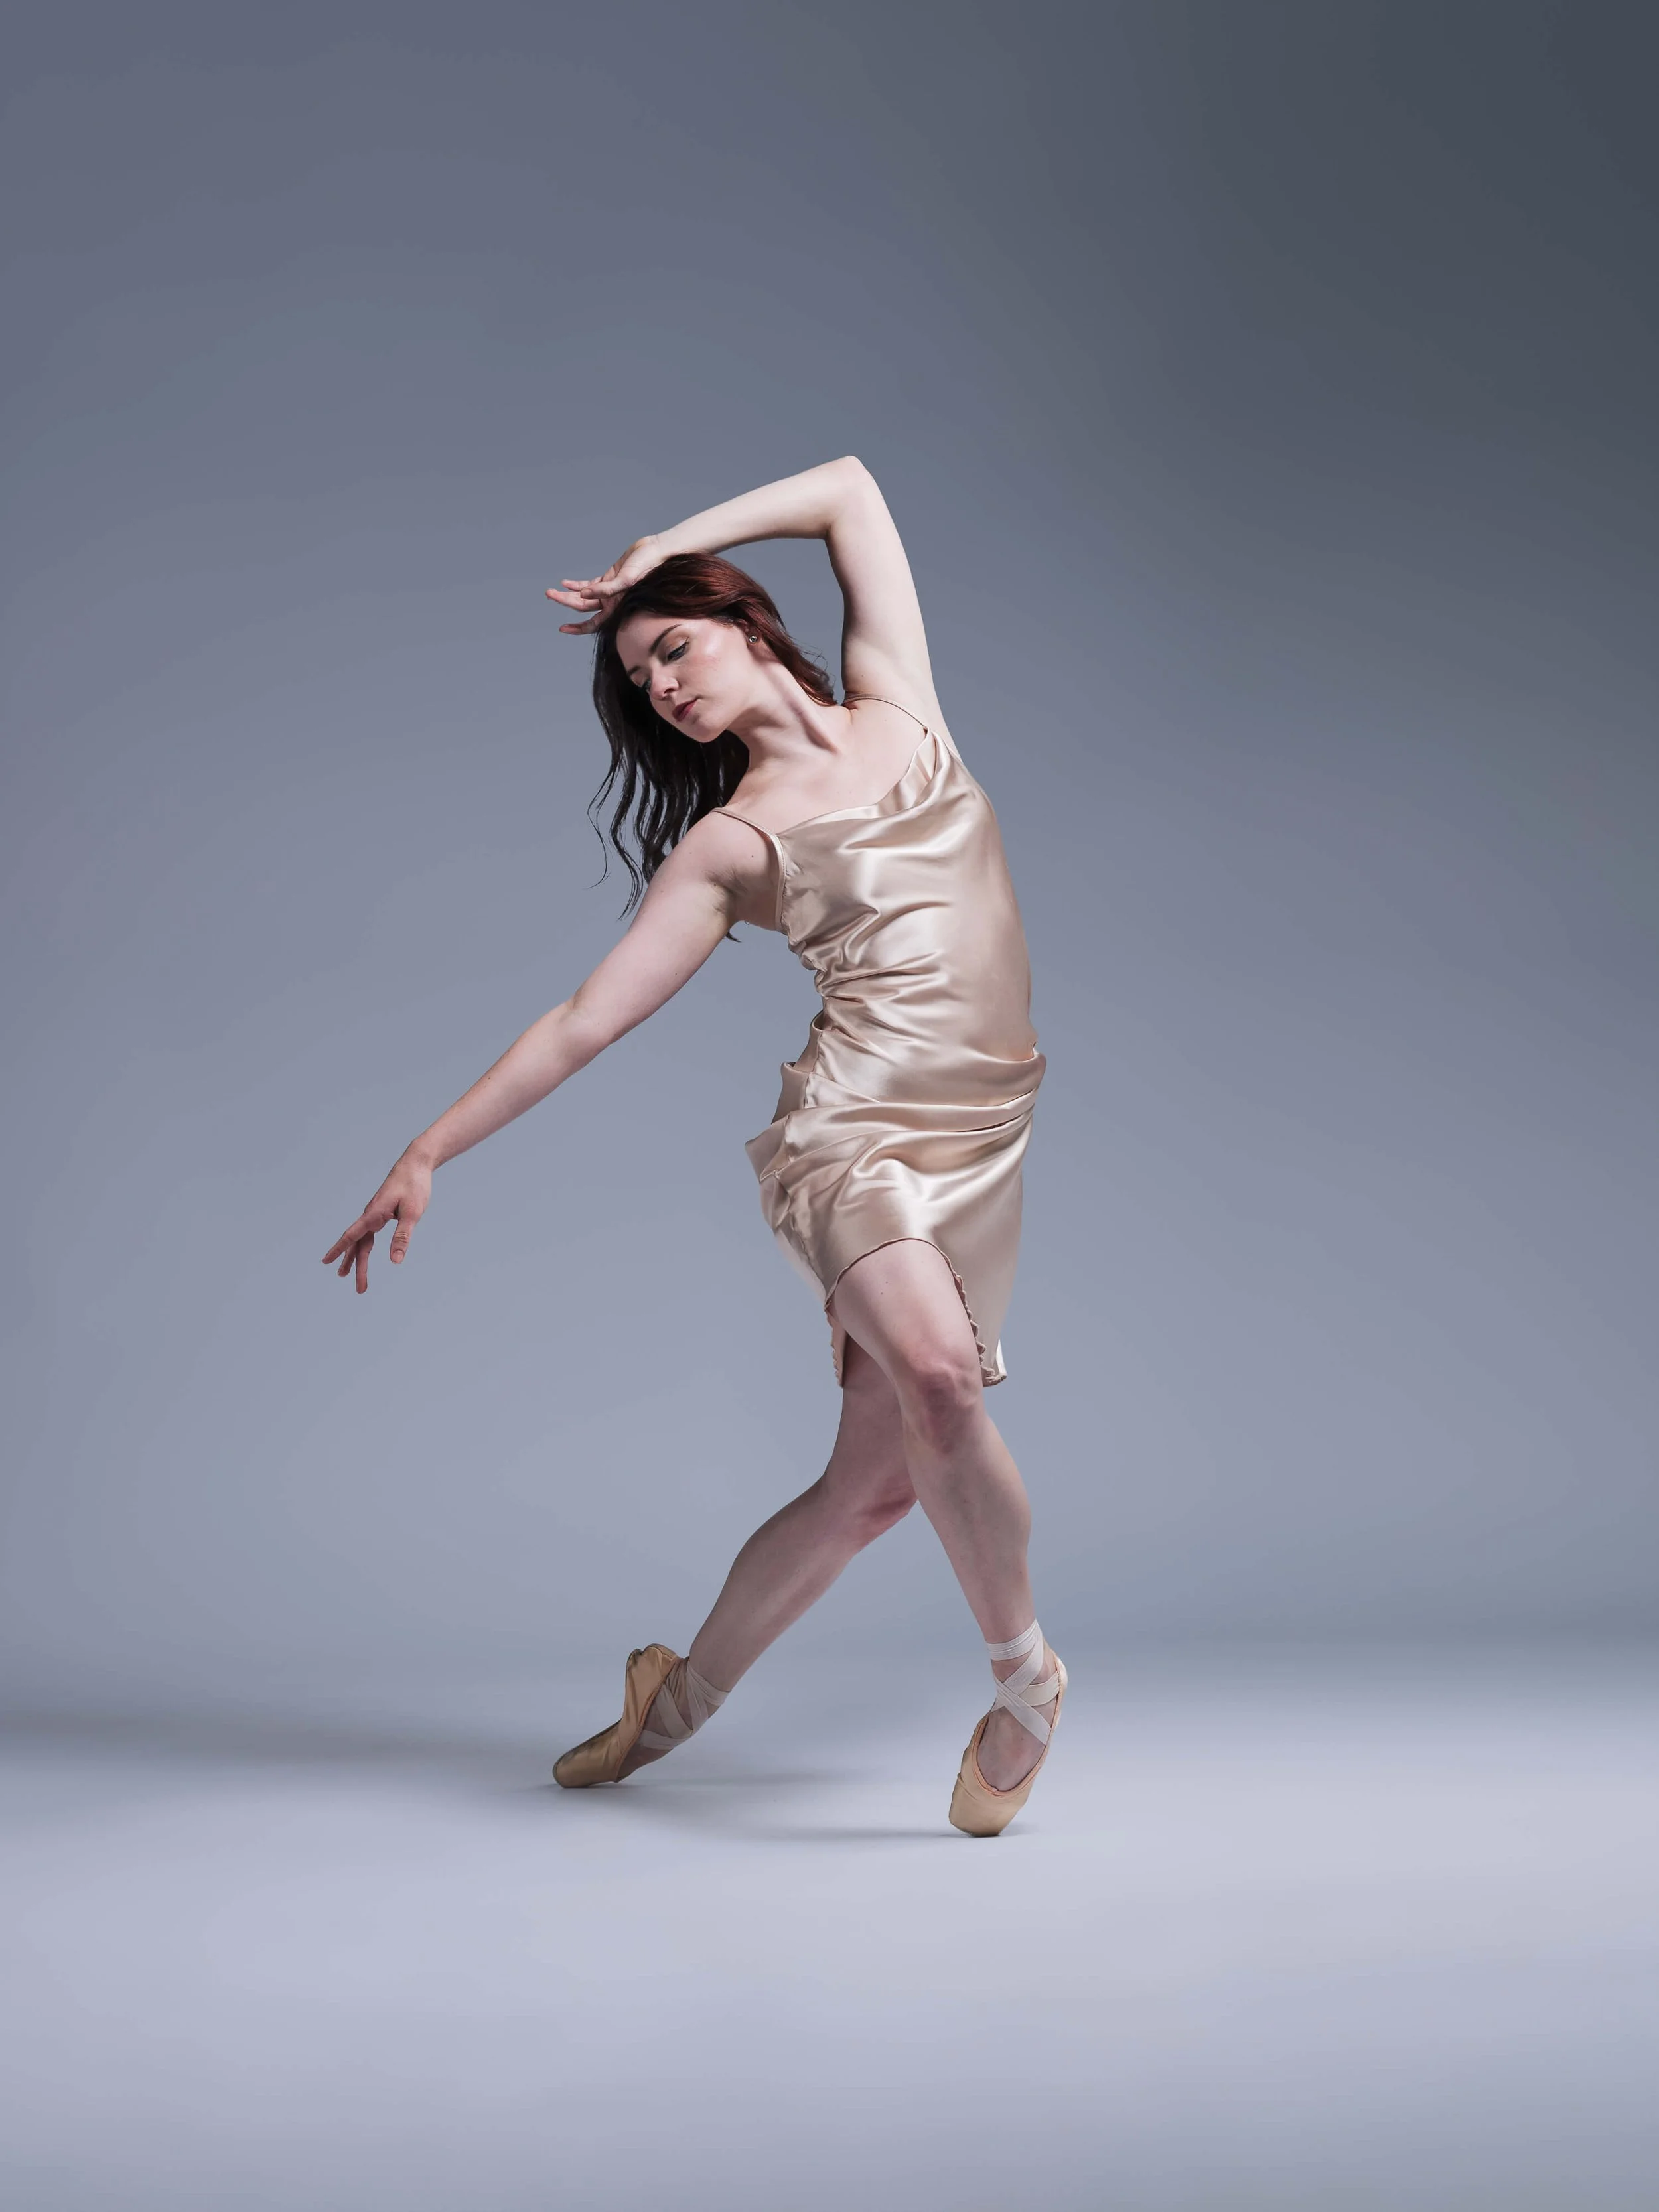
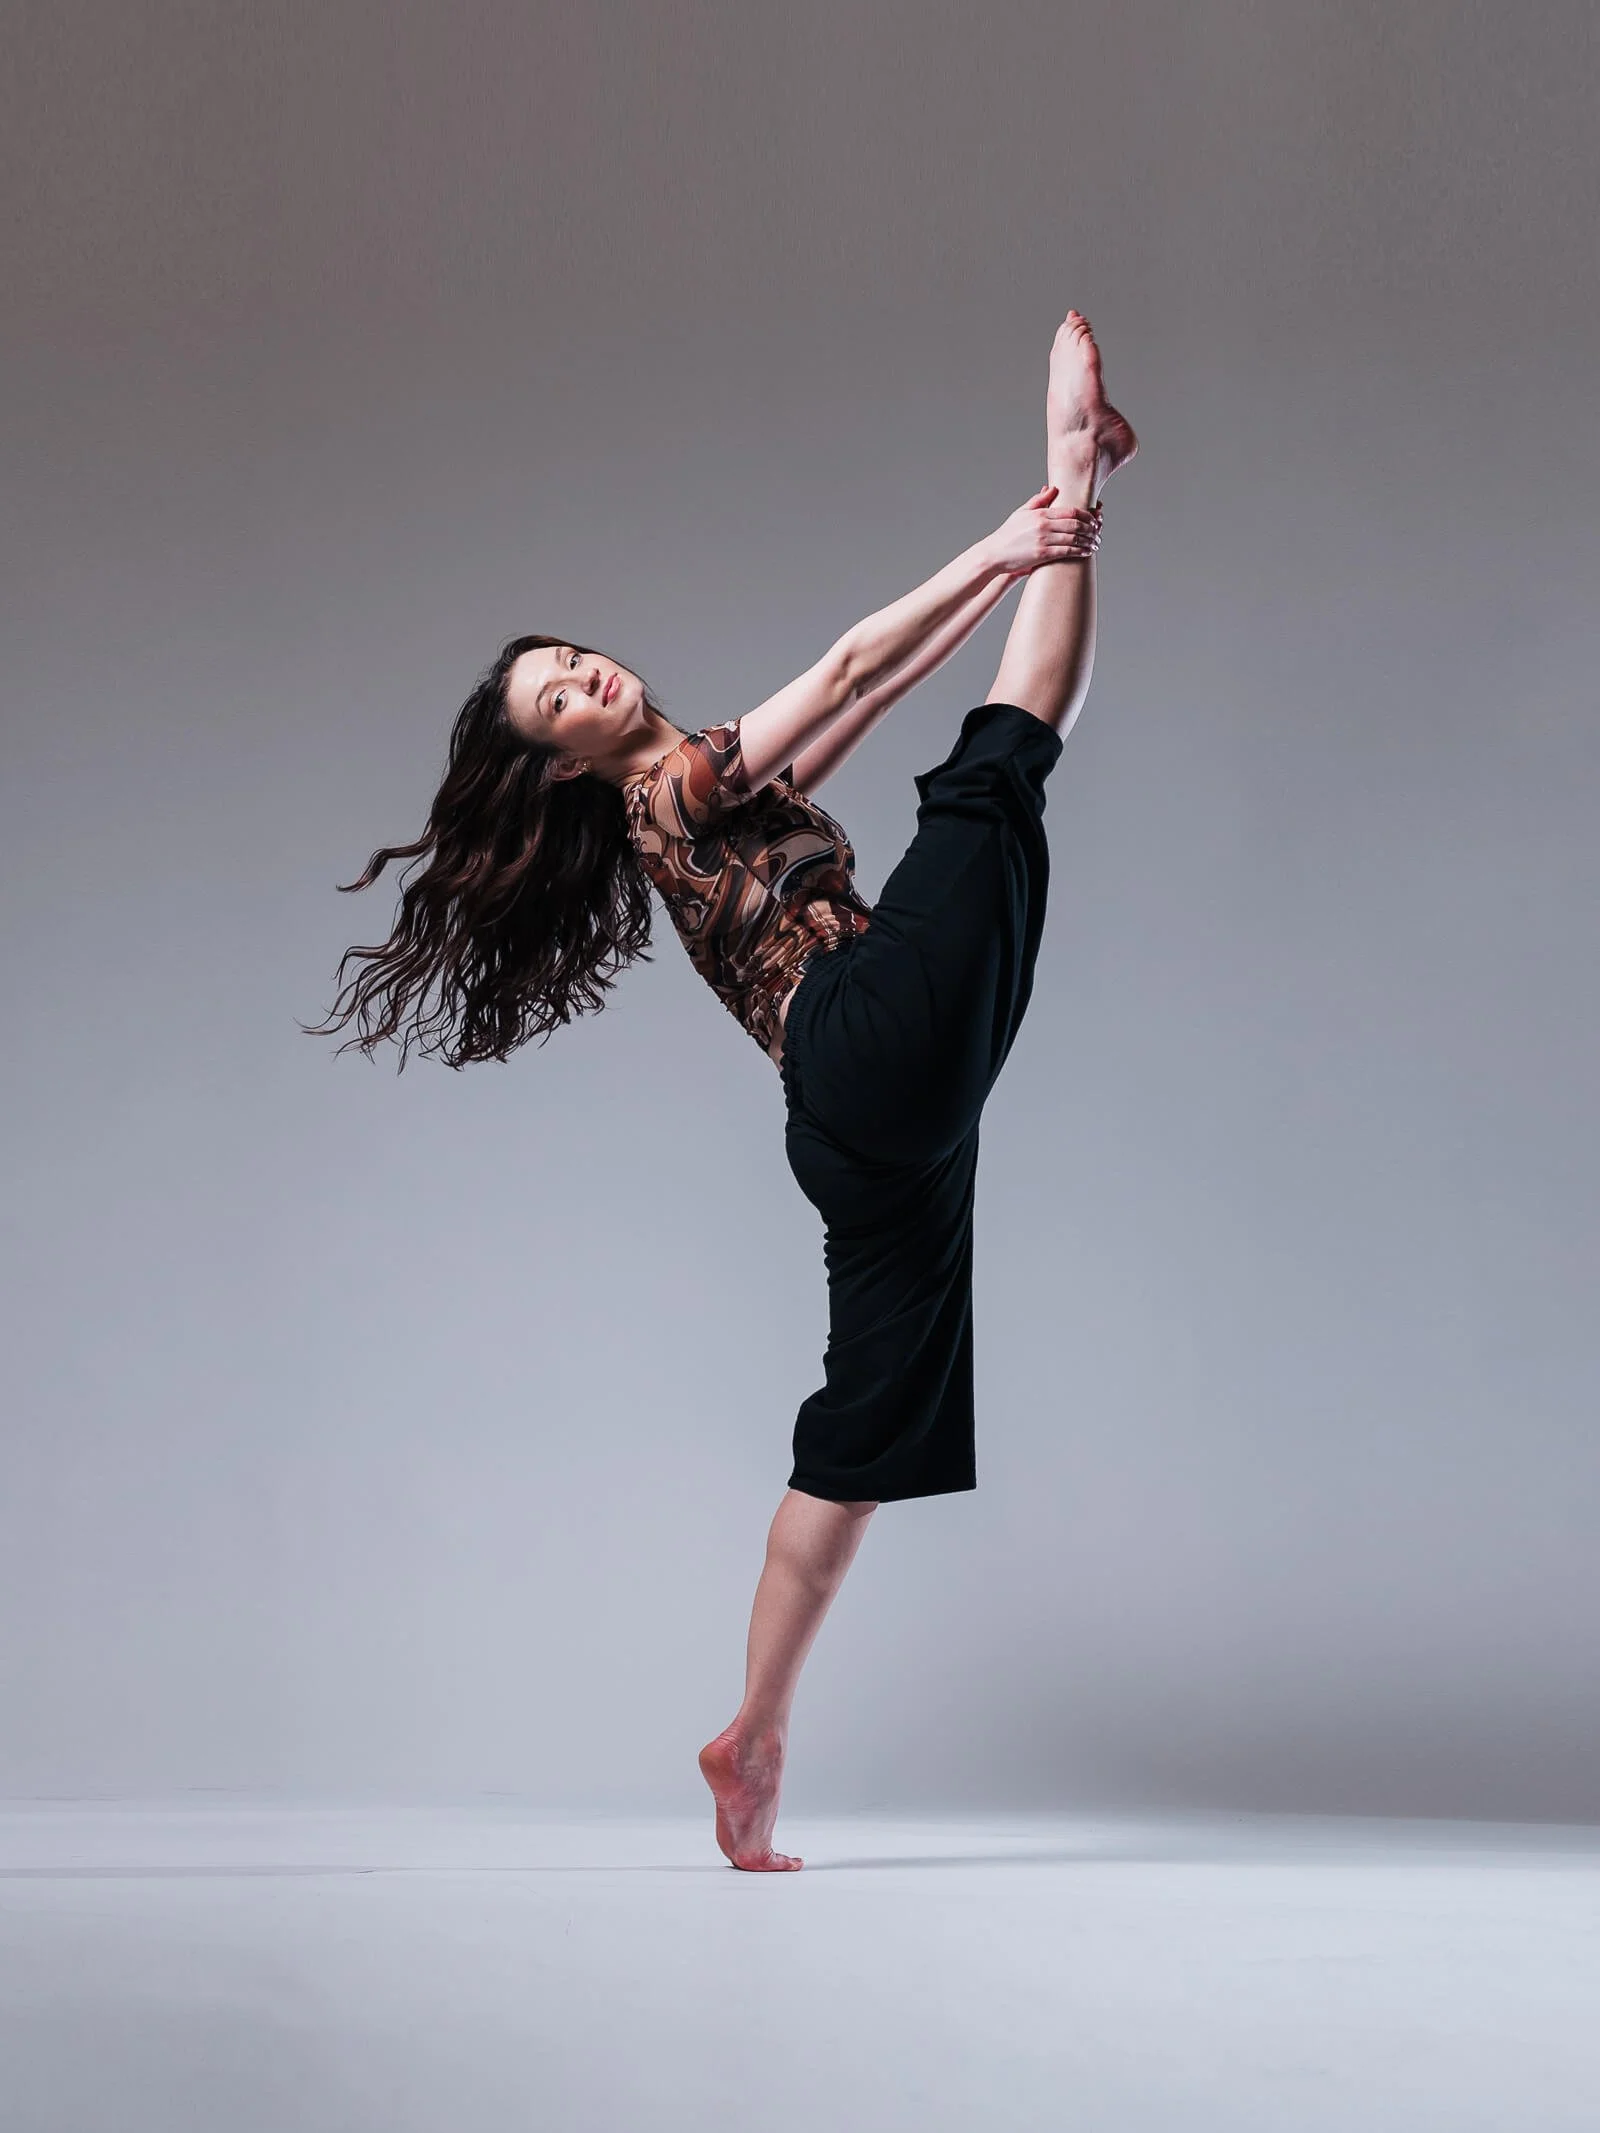
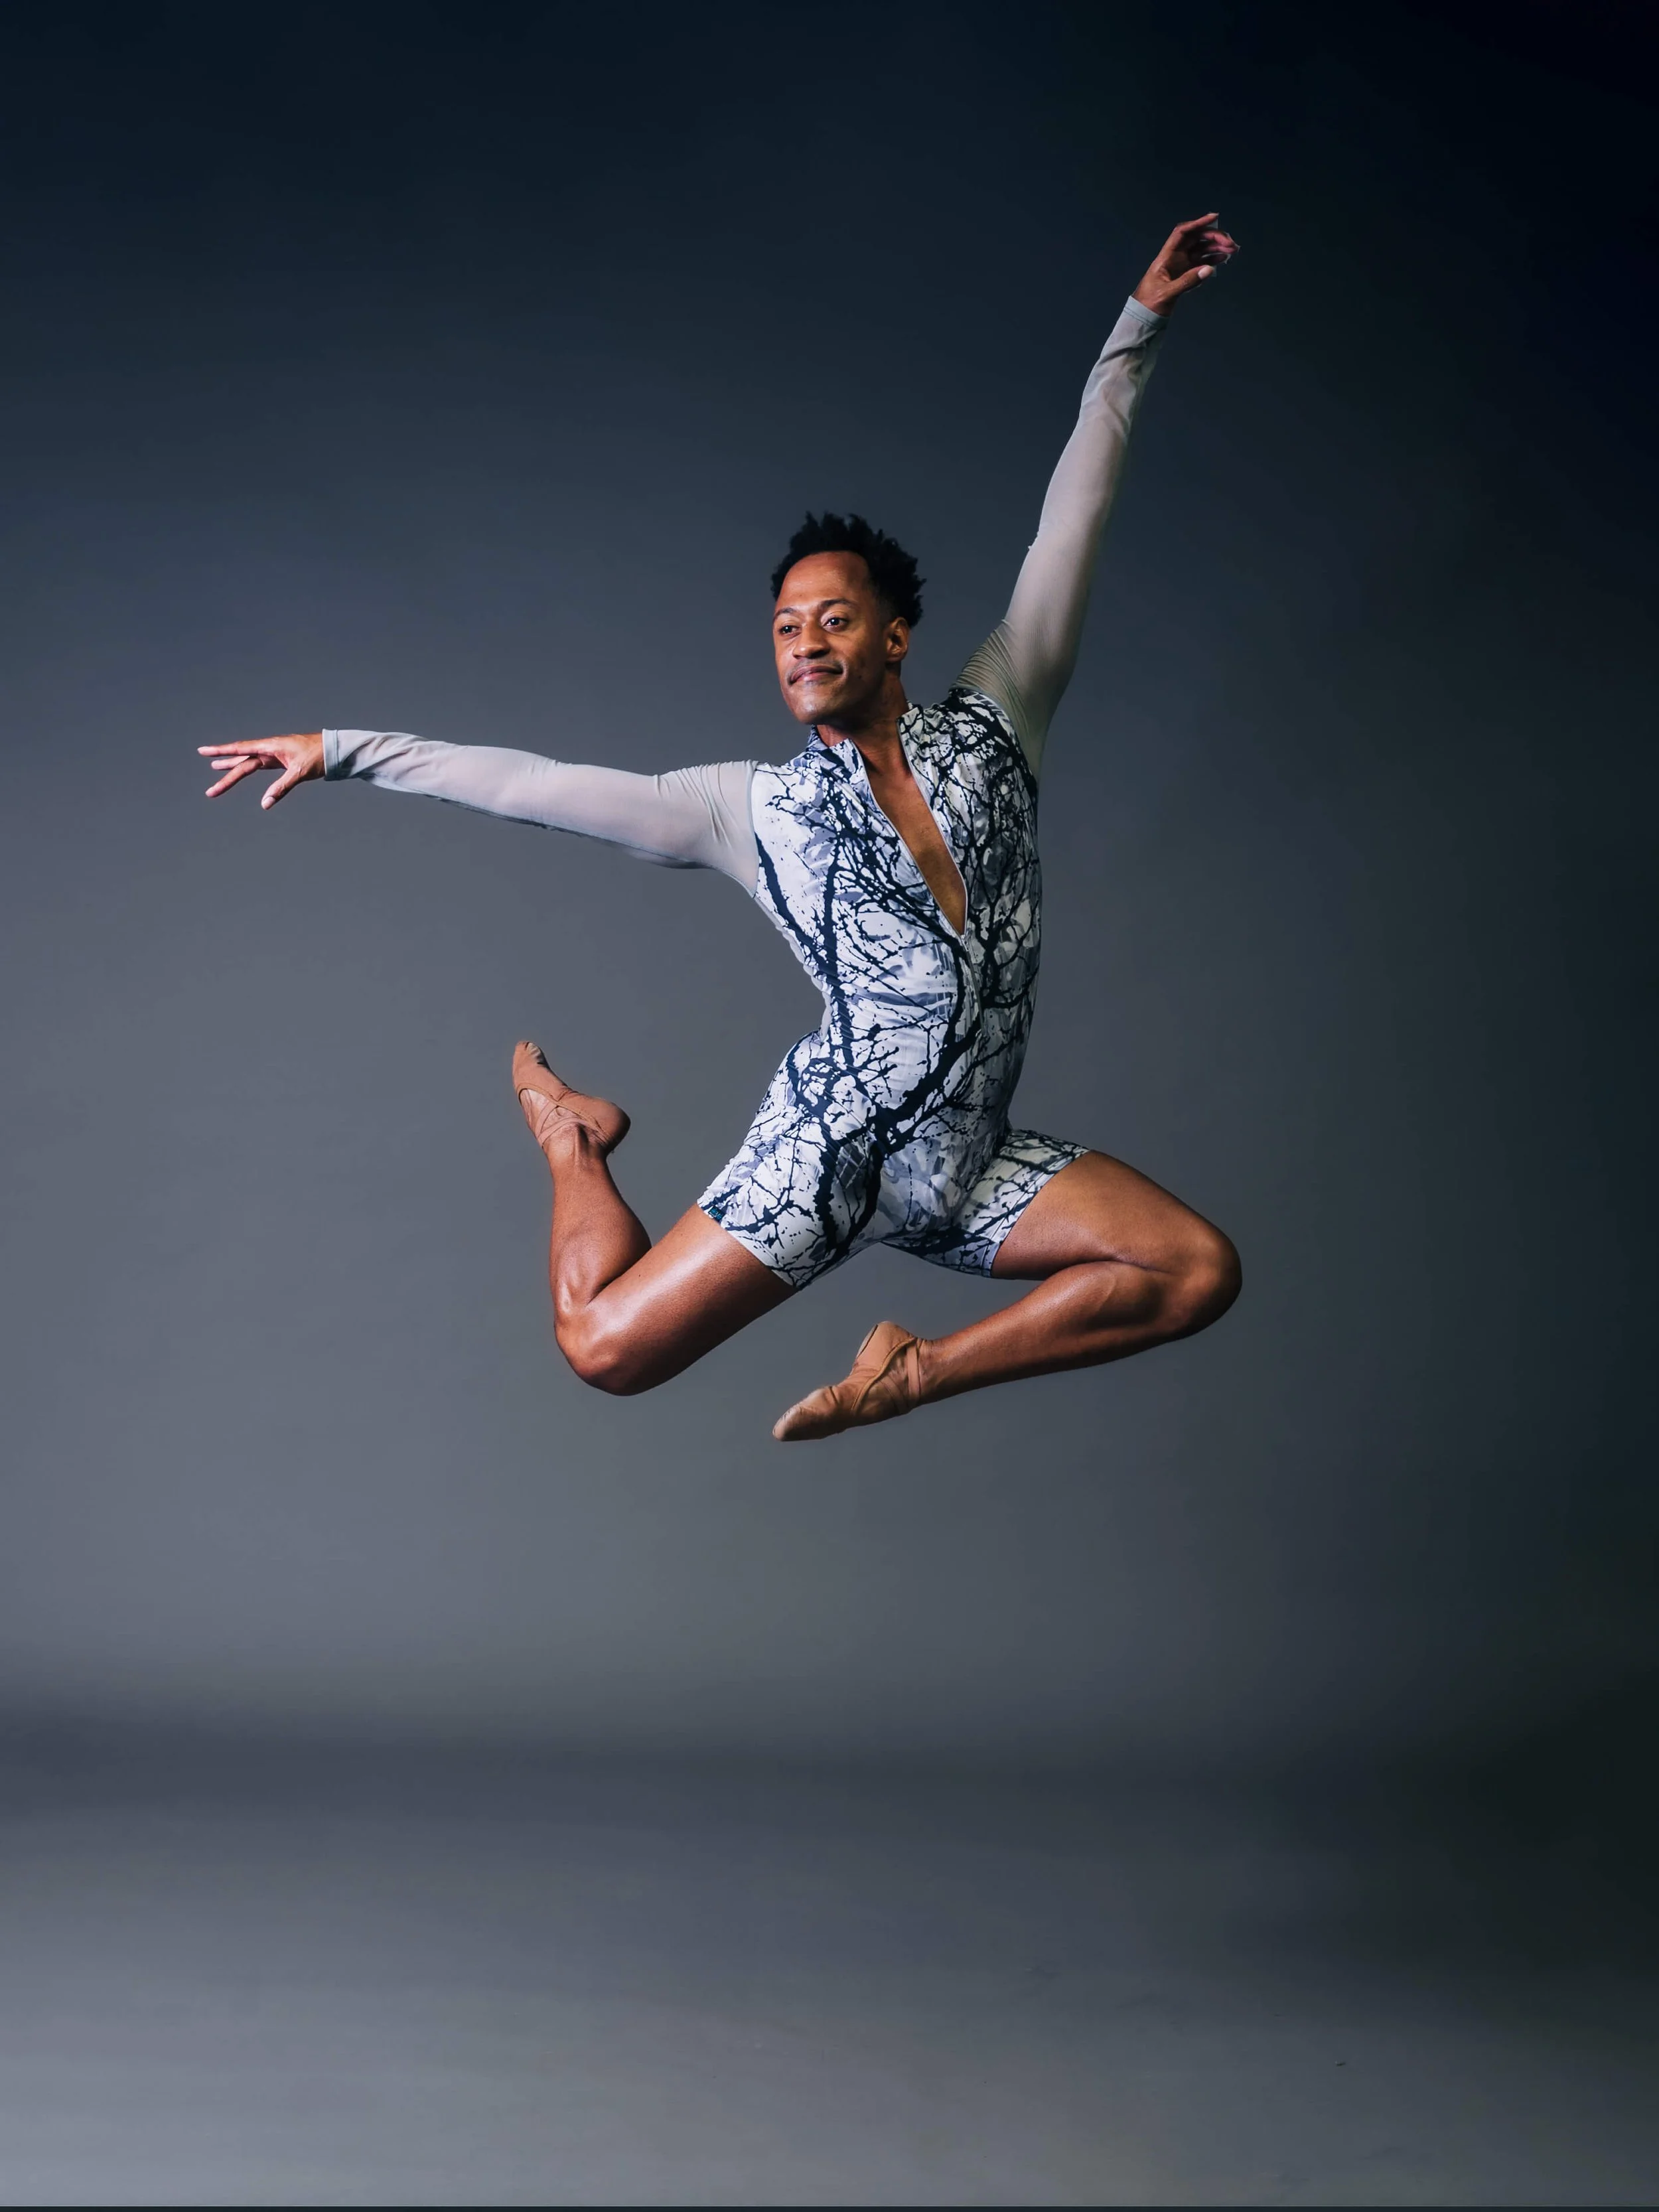
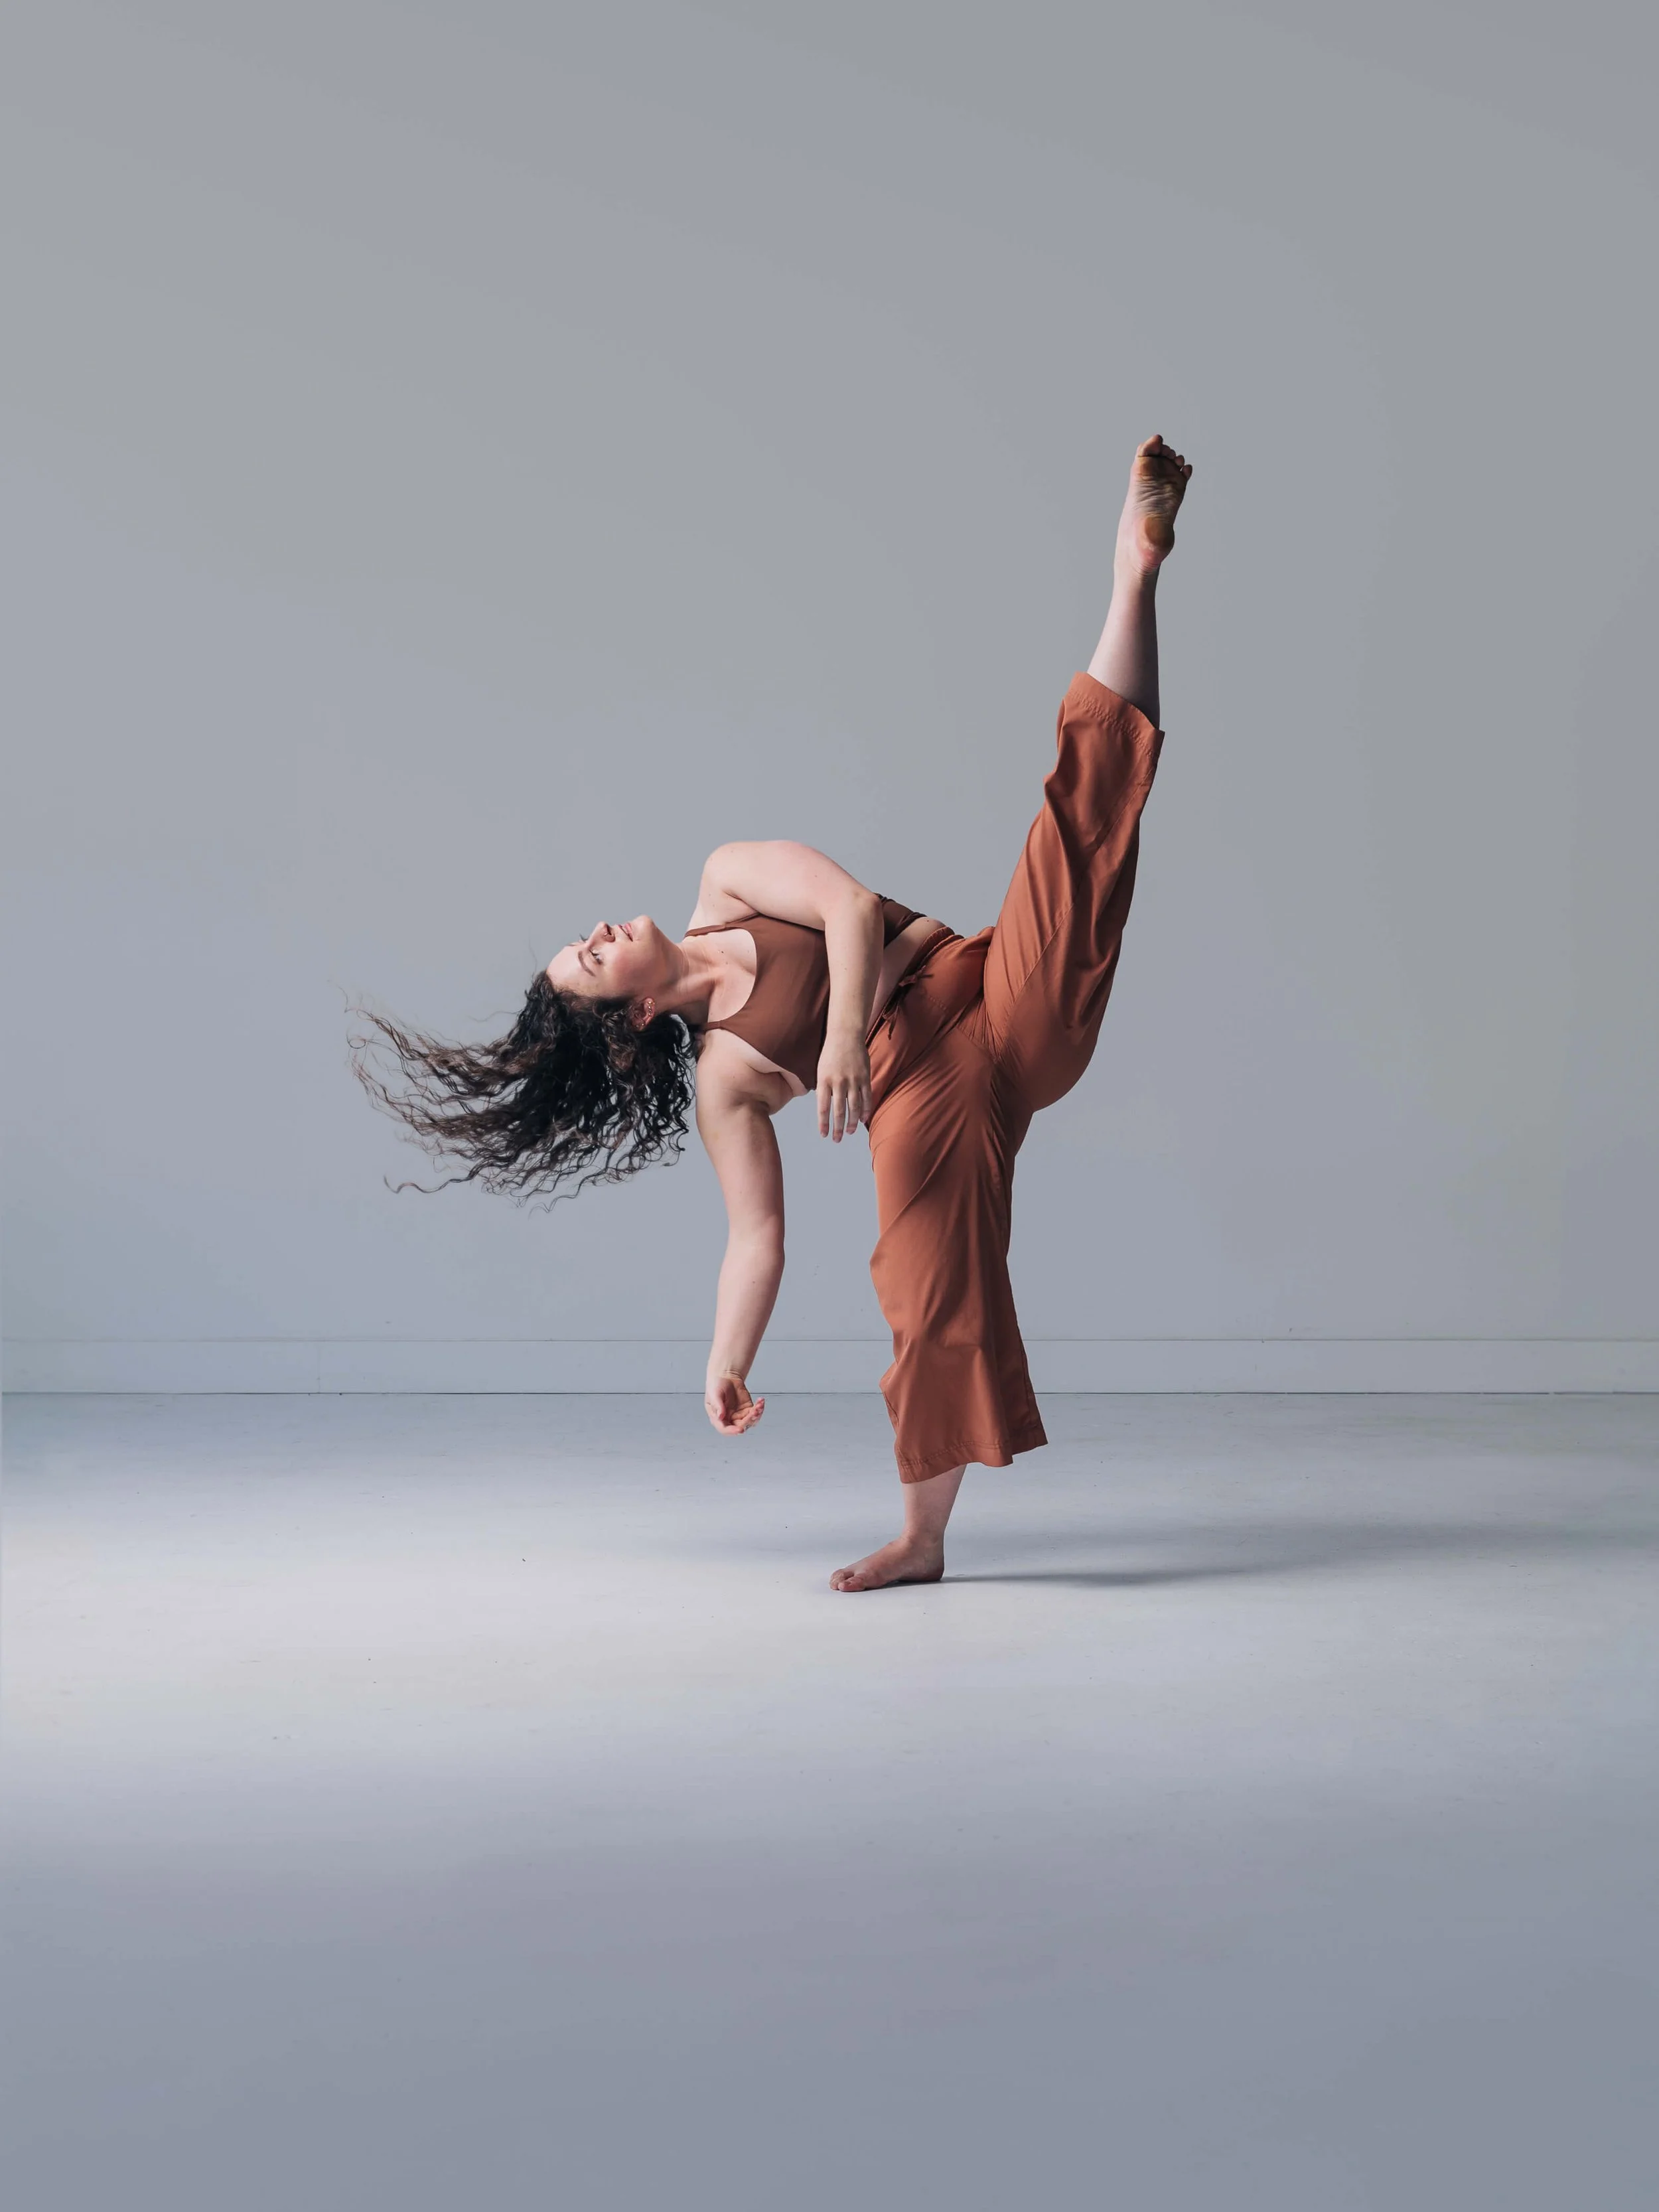
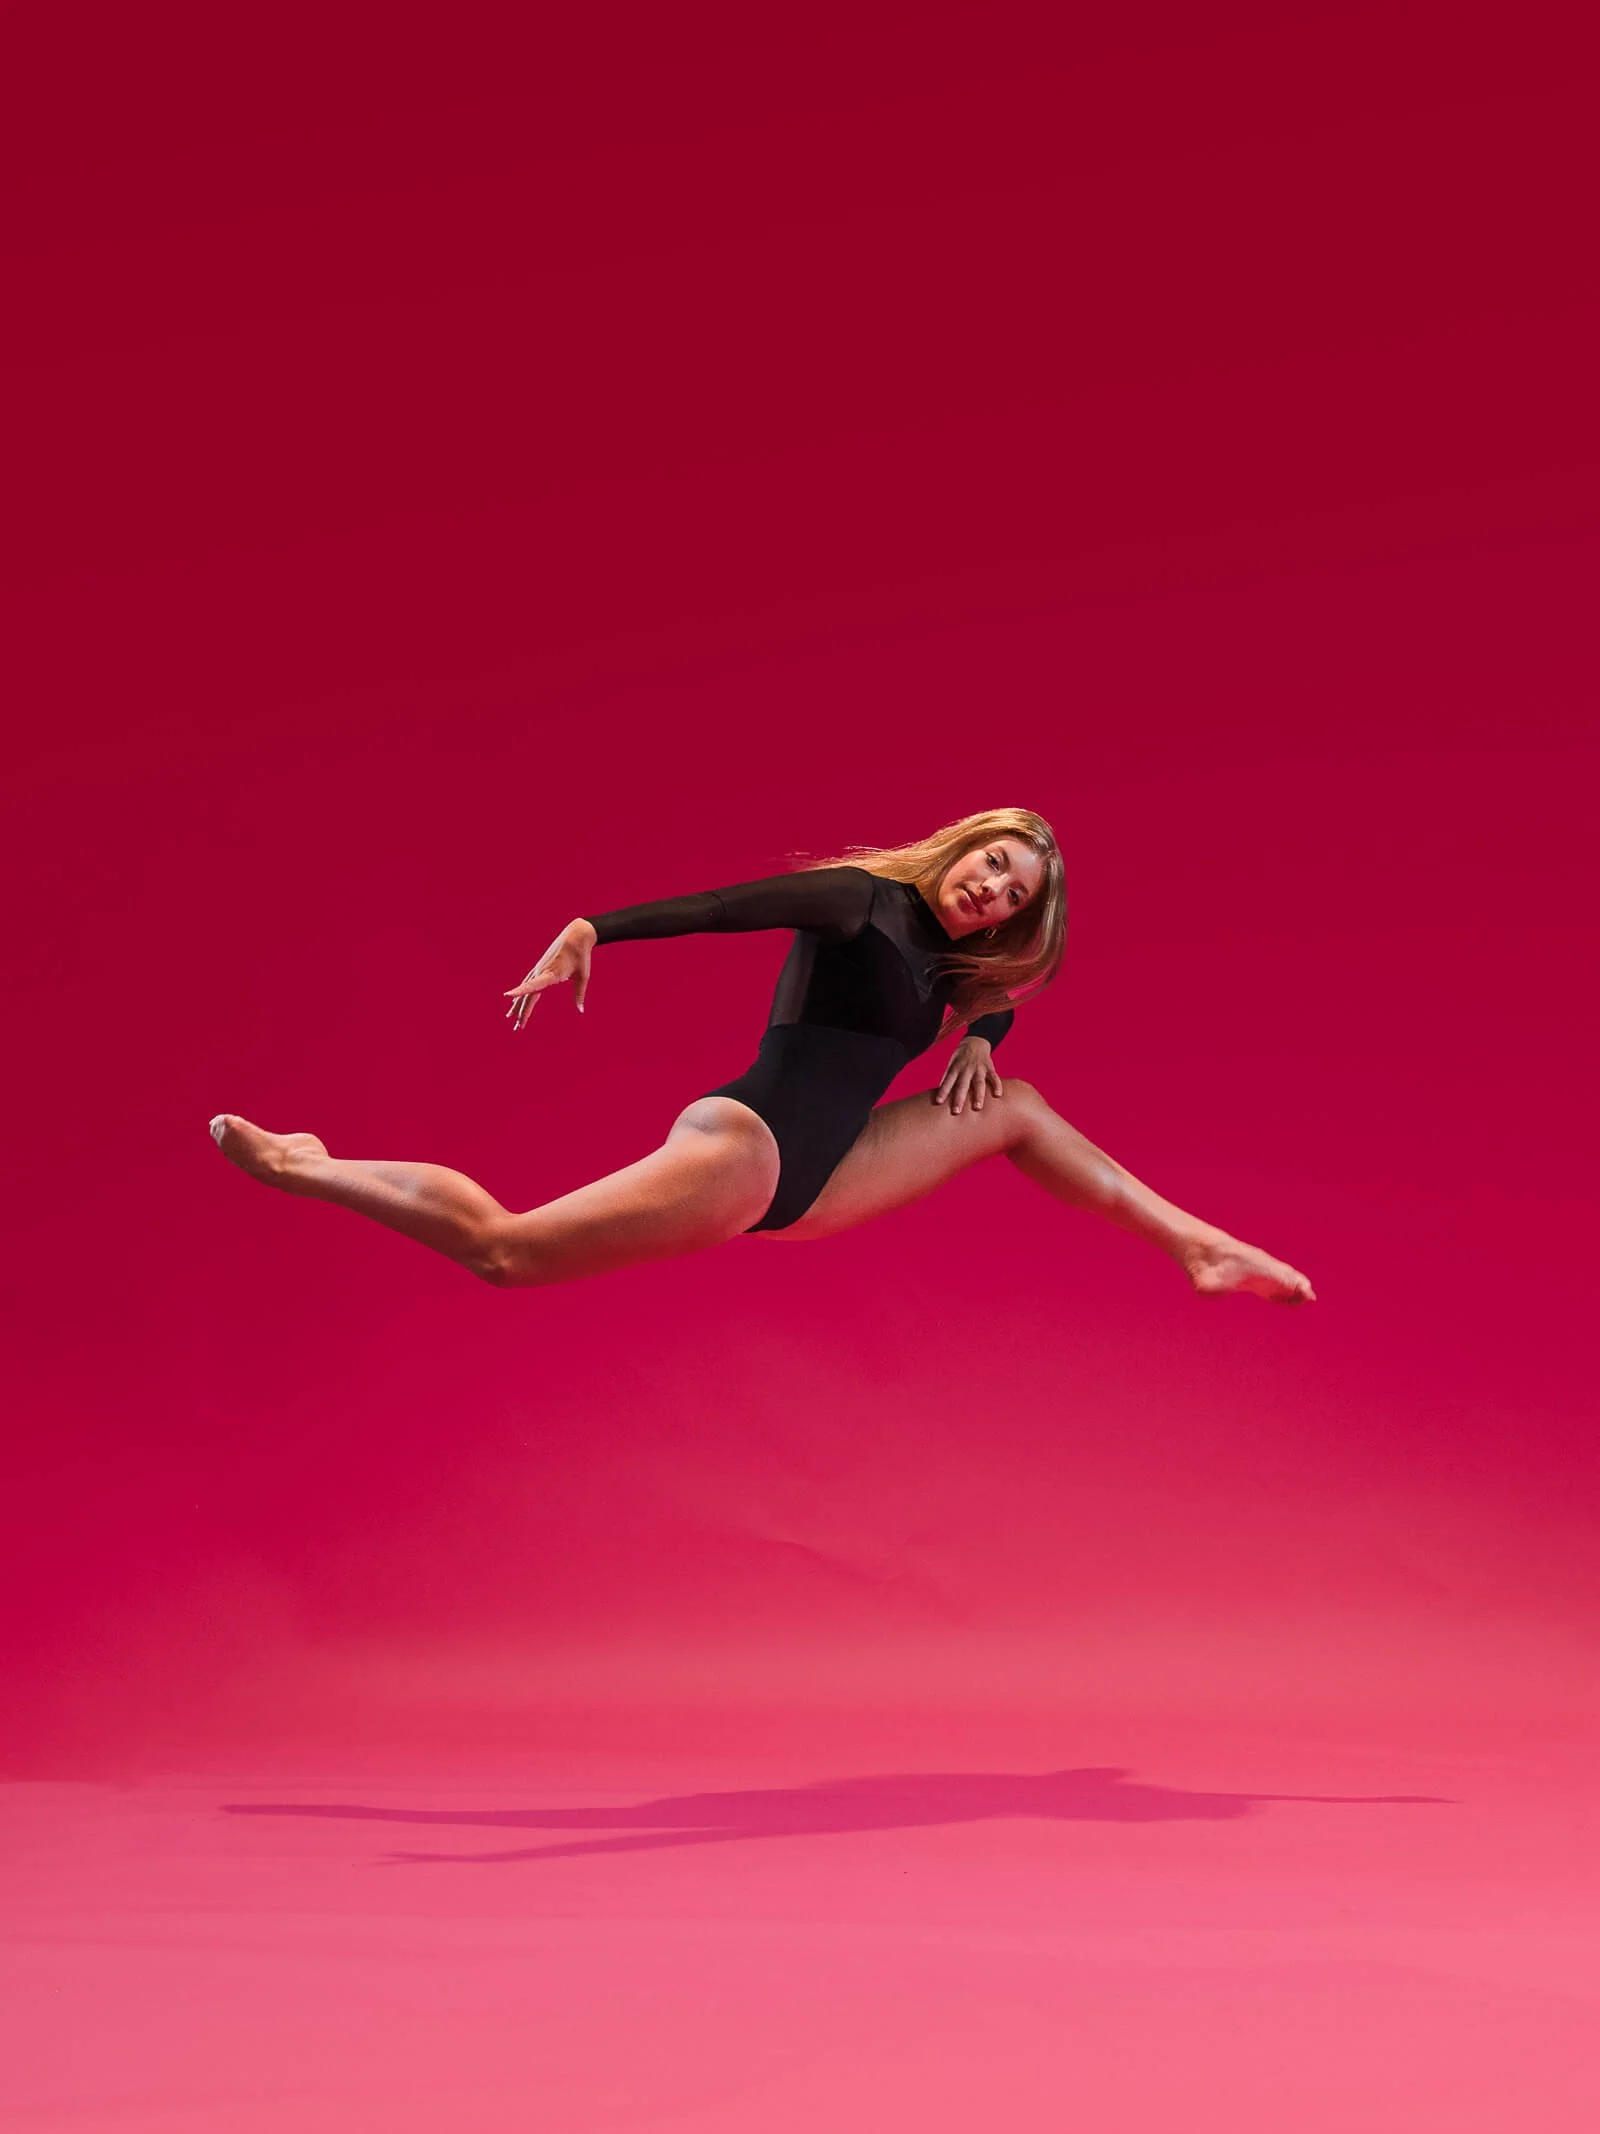
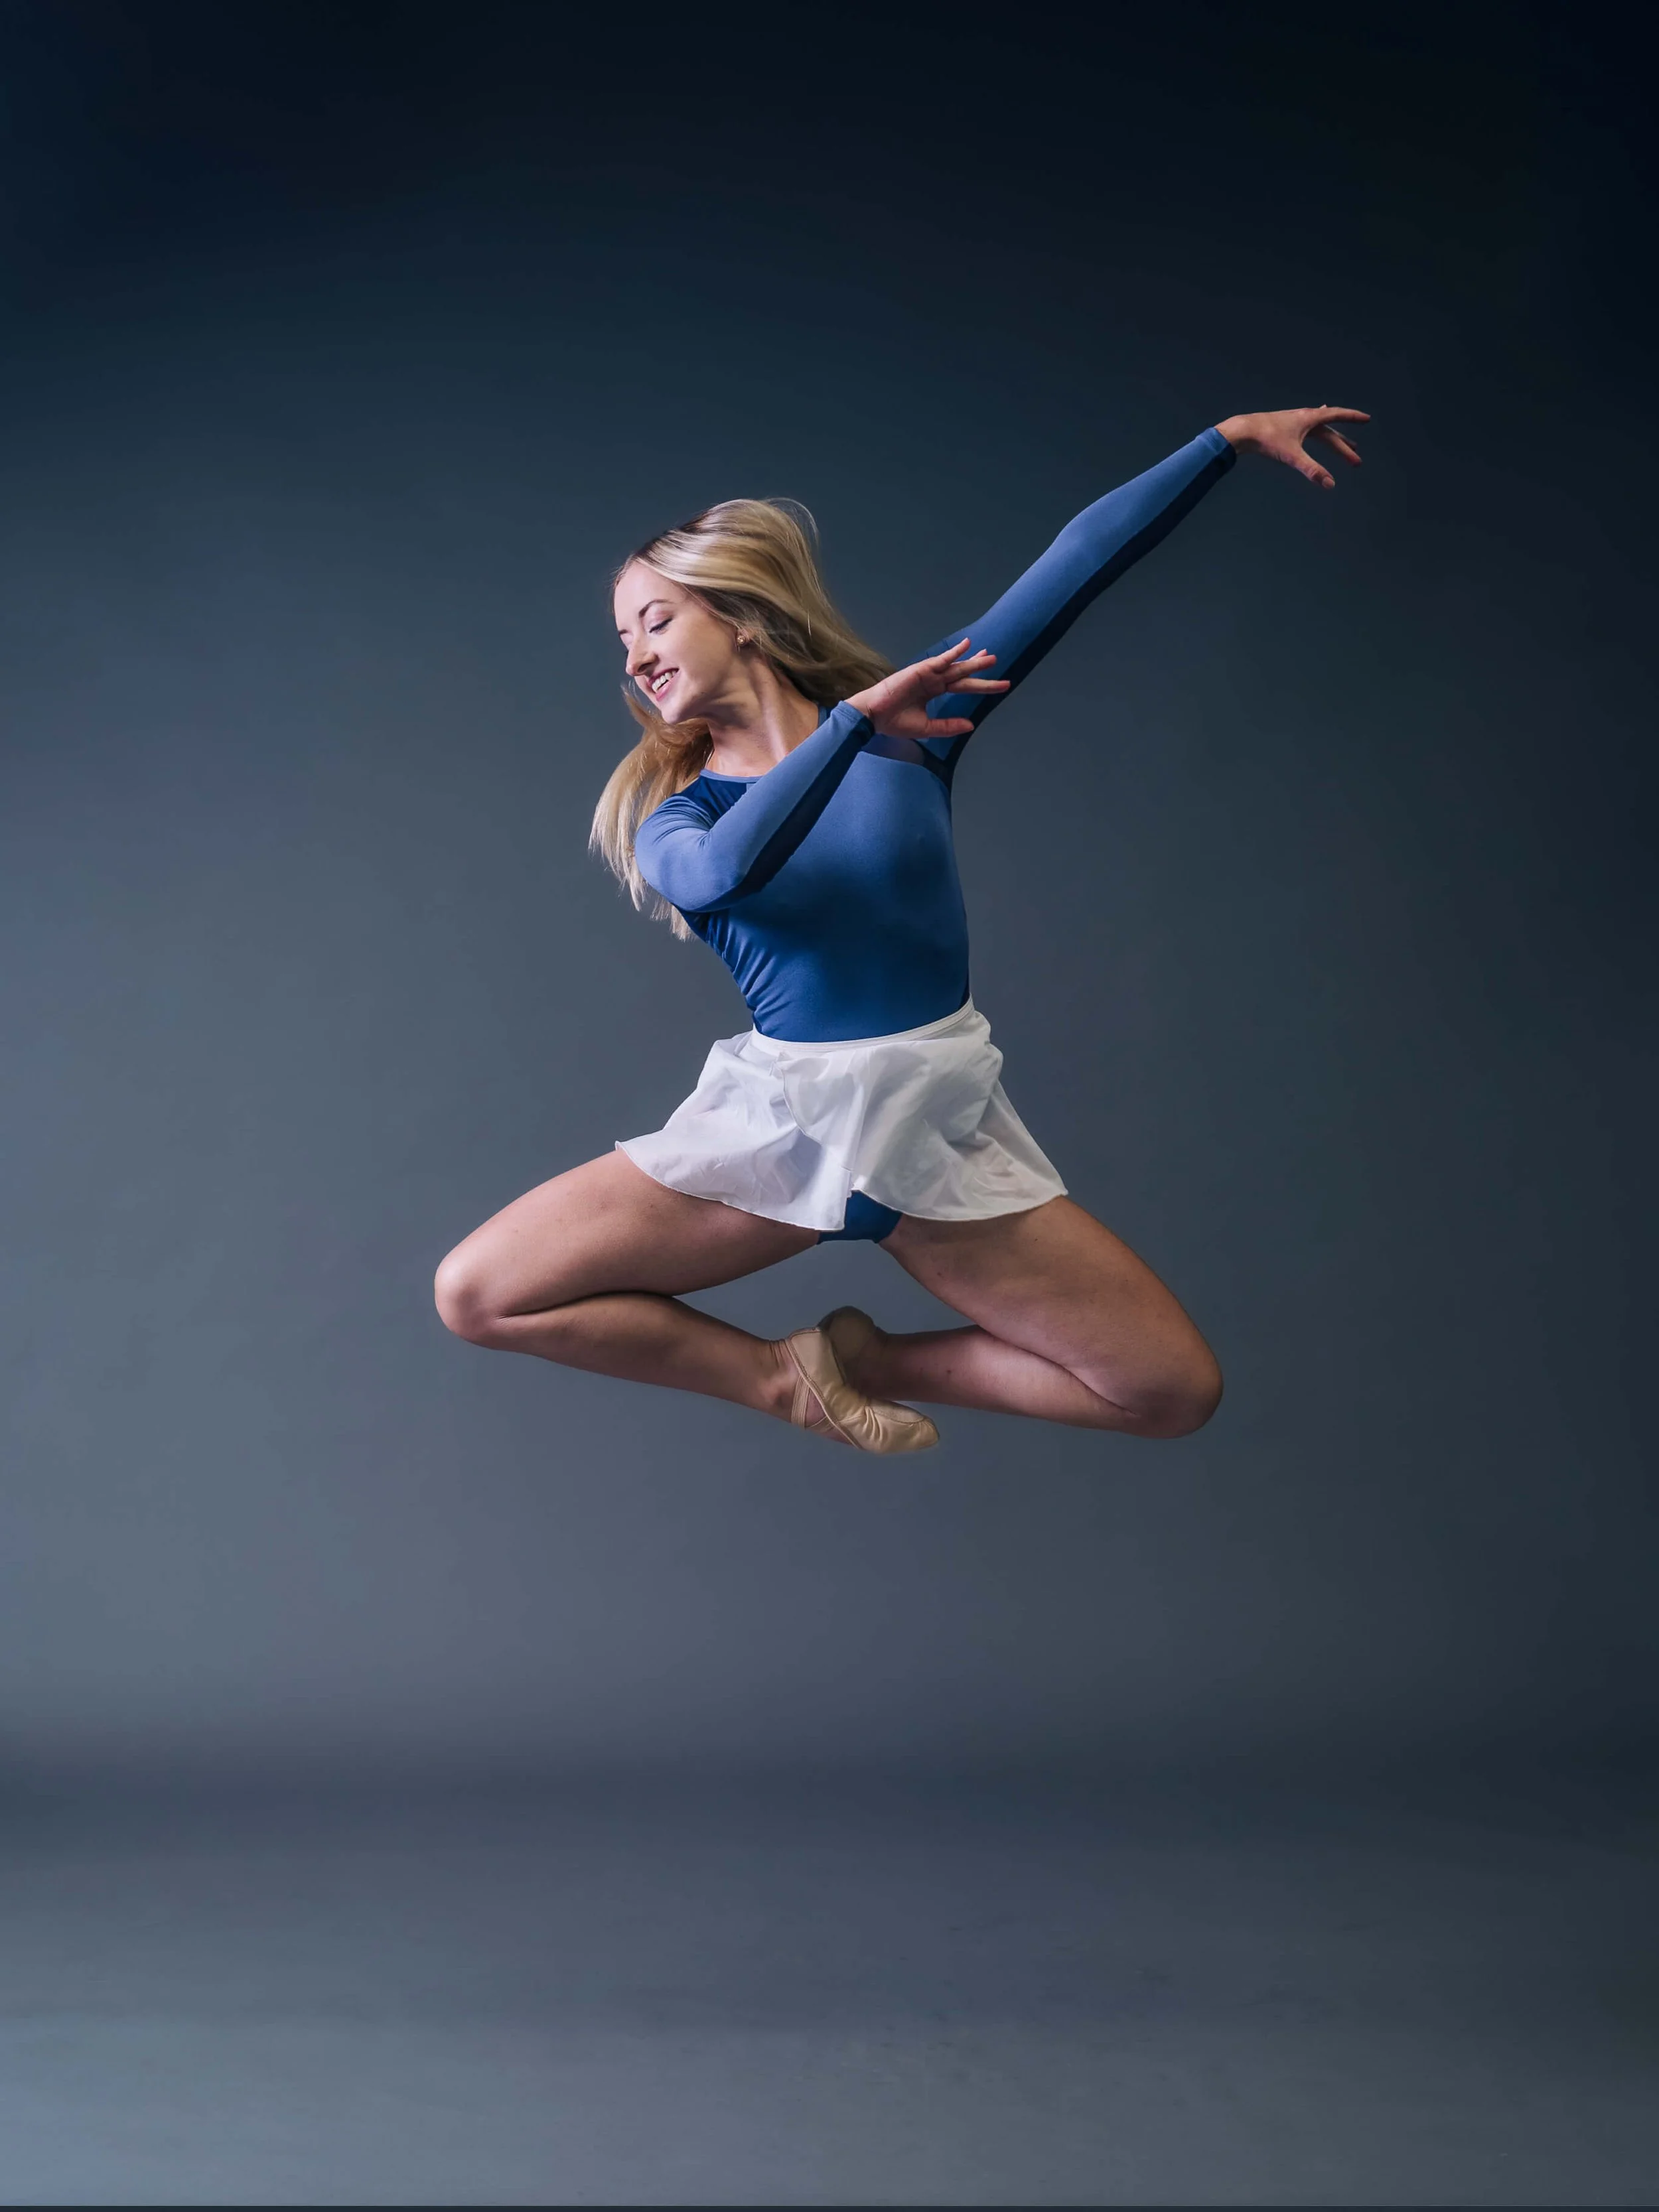
For photos, poses should be more exaggerated and elongated to create visual impact and to maintain the lines that live audiences would be seeing.
Movement vs. Static Poses:
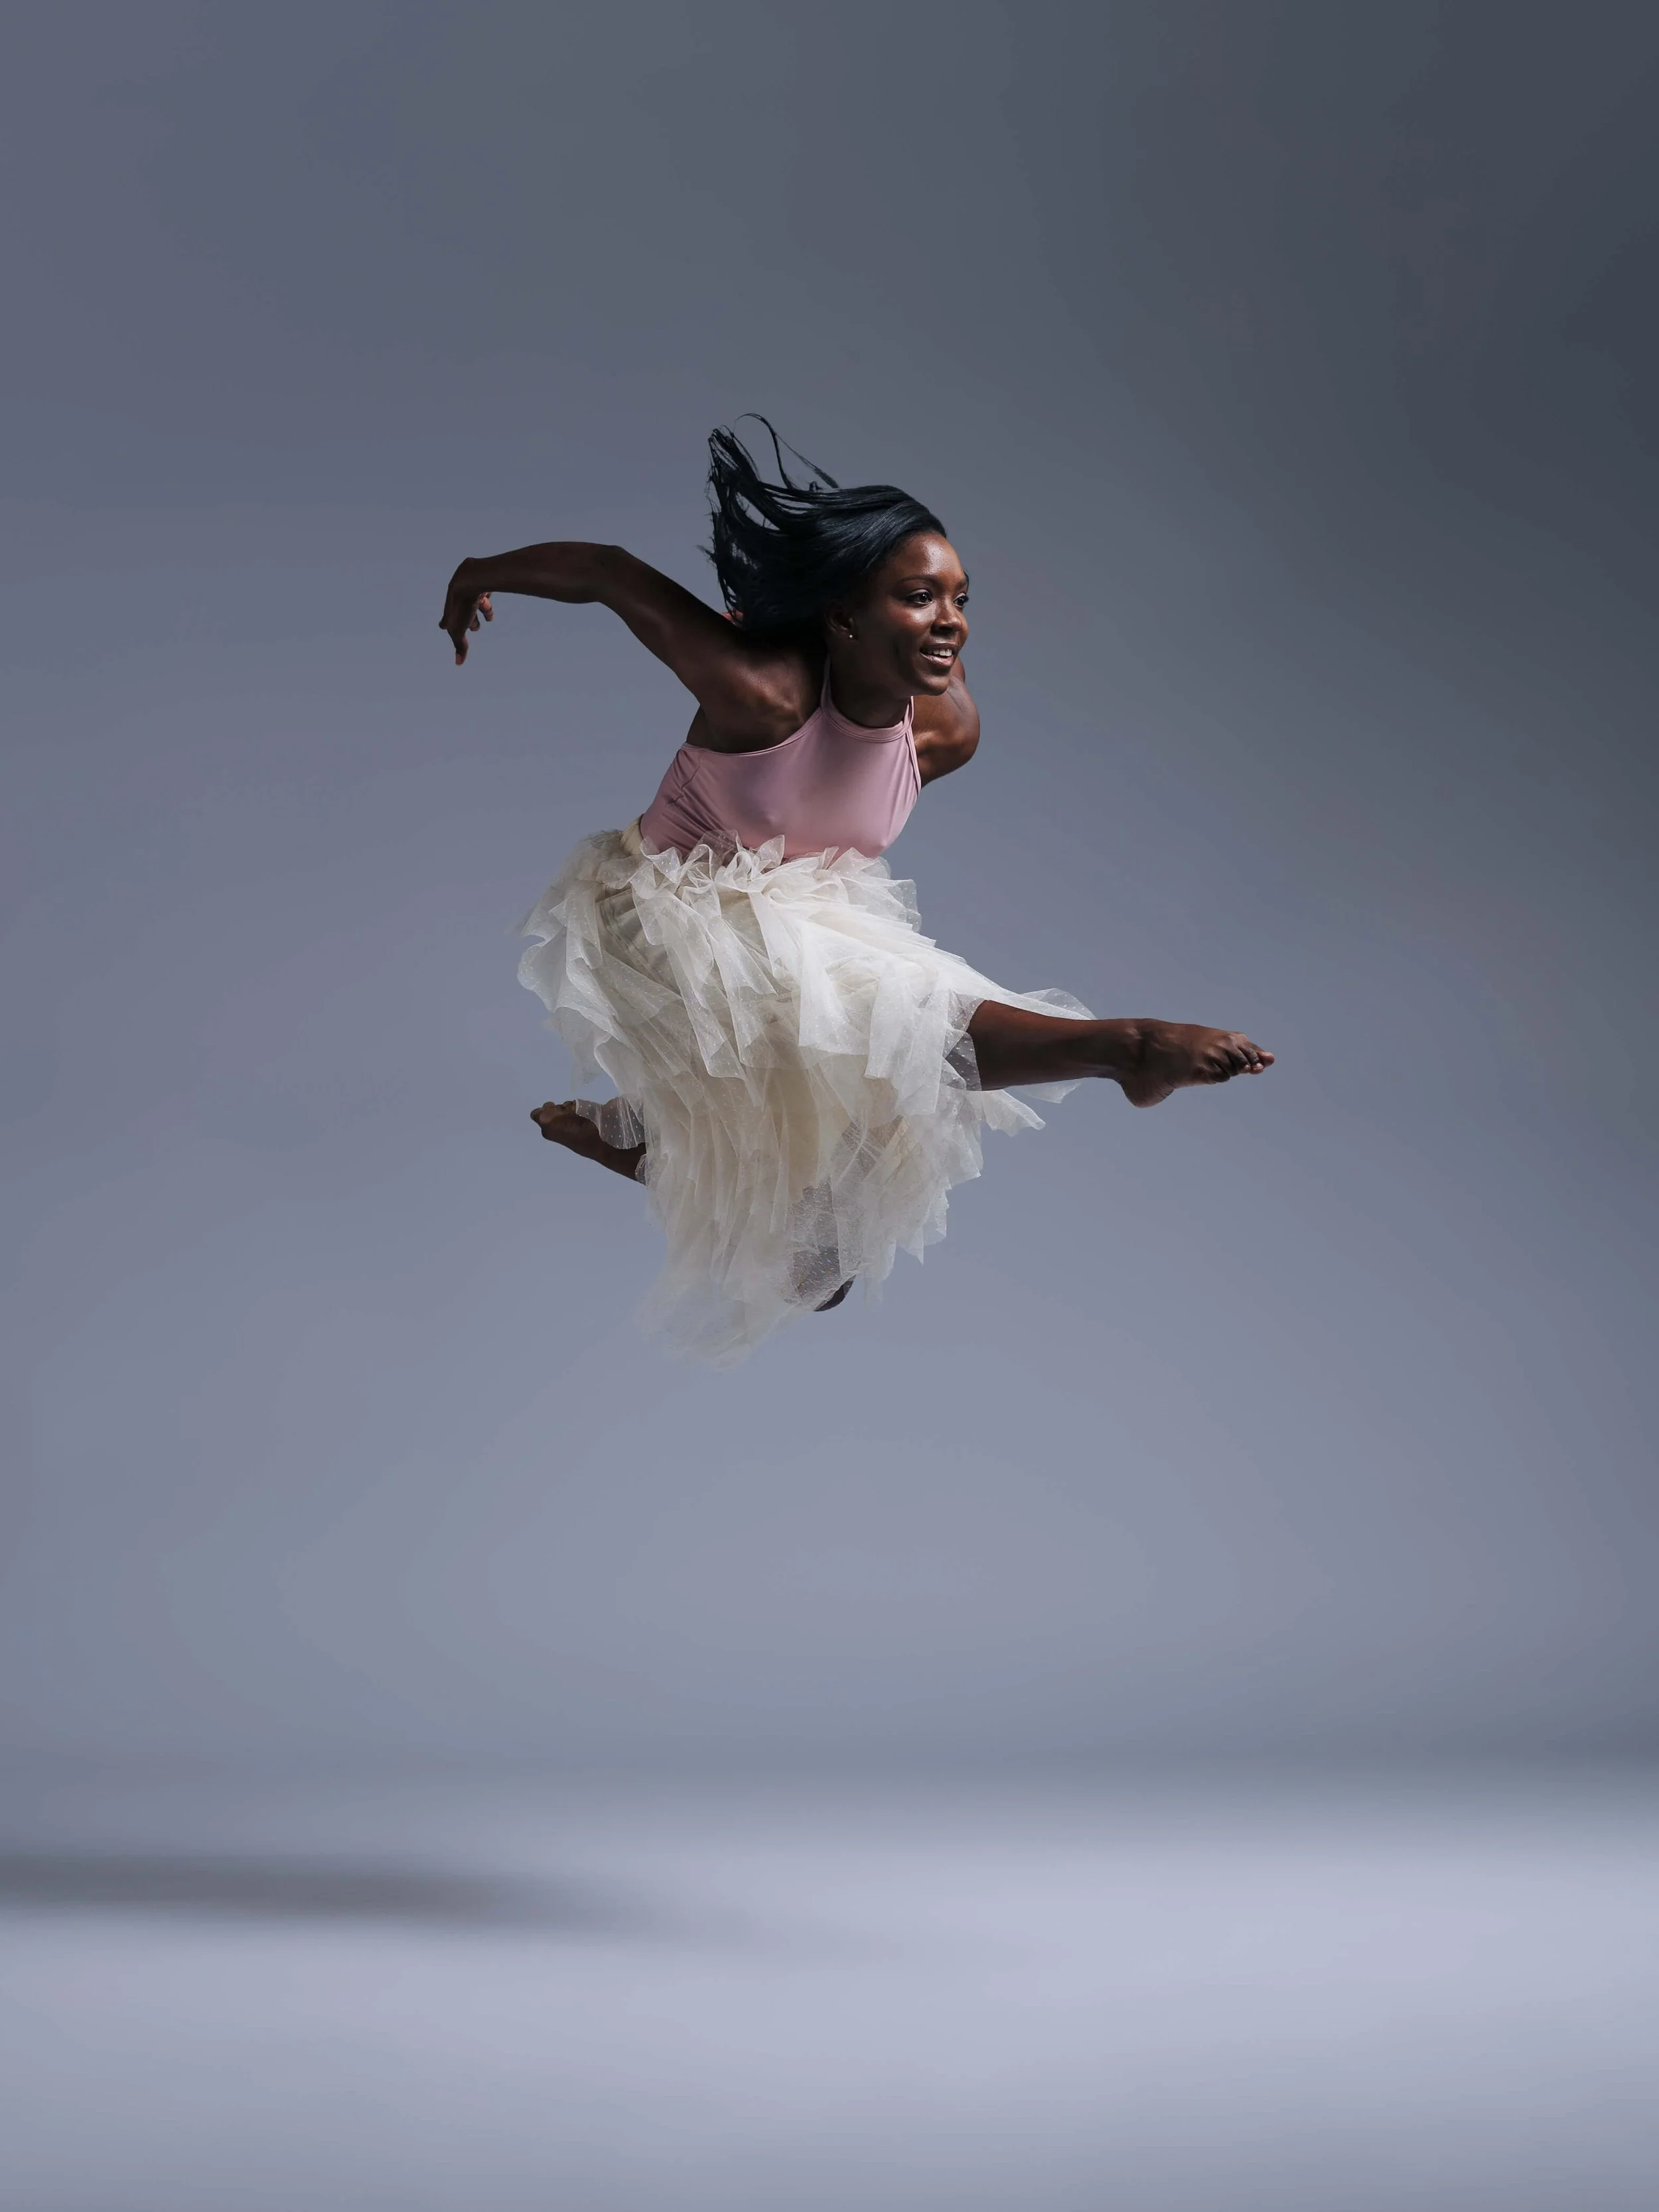
As we build up poses to work for the camera, you’ll want to begin moving through your shape, rather than holding it rigidly. Majority of the time when I’m working with a dancer for the first time, they tend to want to hold the shape for as long as possible. This happens so much with dancers who have worked with non-dance photographers. Which makes sense! You’re being considerate about how long it may take for the photographer to capture your pose, right? Well… not so much. When you hold a pose, you’re tensing up more than just the muscles that are needed to hold it. Your face is one of the biggest things that you’ll notice holding a ton of tension when you hold a pose. Which is why it’s important to work with a dance photographer who understands dance technique and timing. This way, you can just hit the shot, move through it and the photographer should be able to capture the peak of your movement.
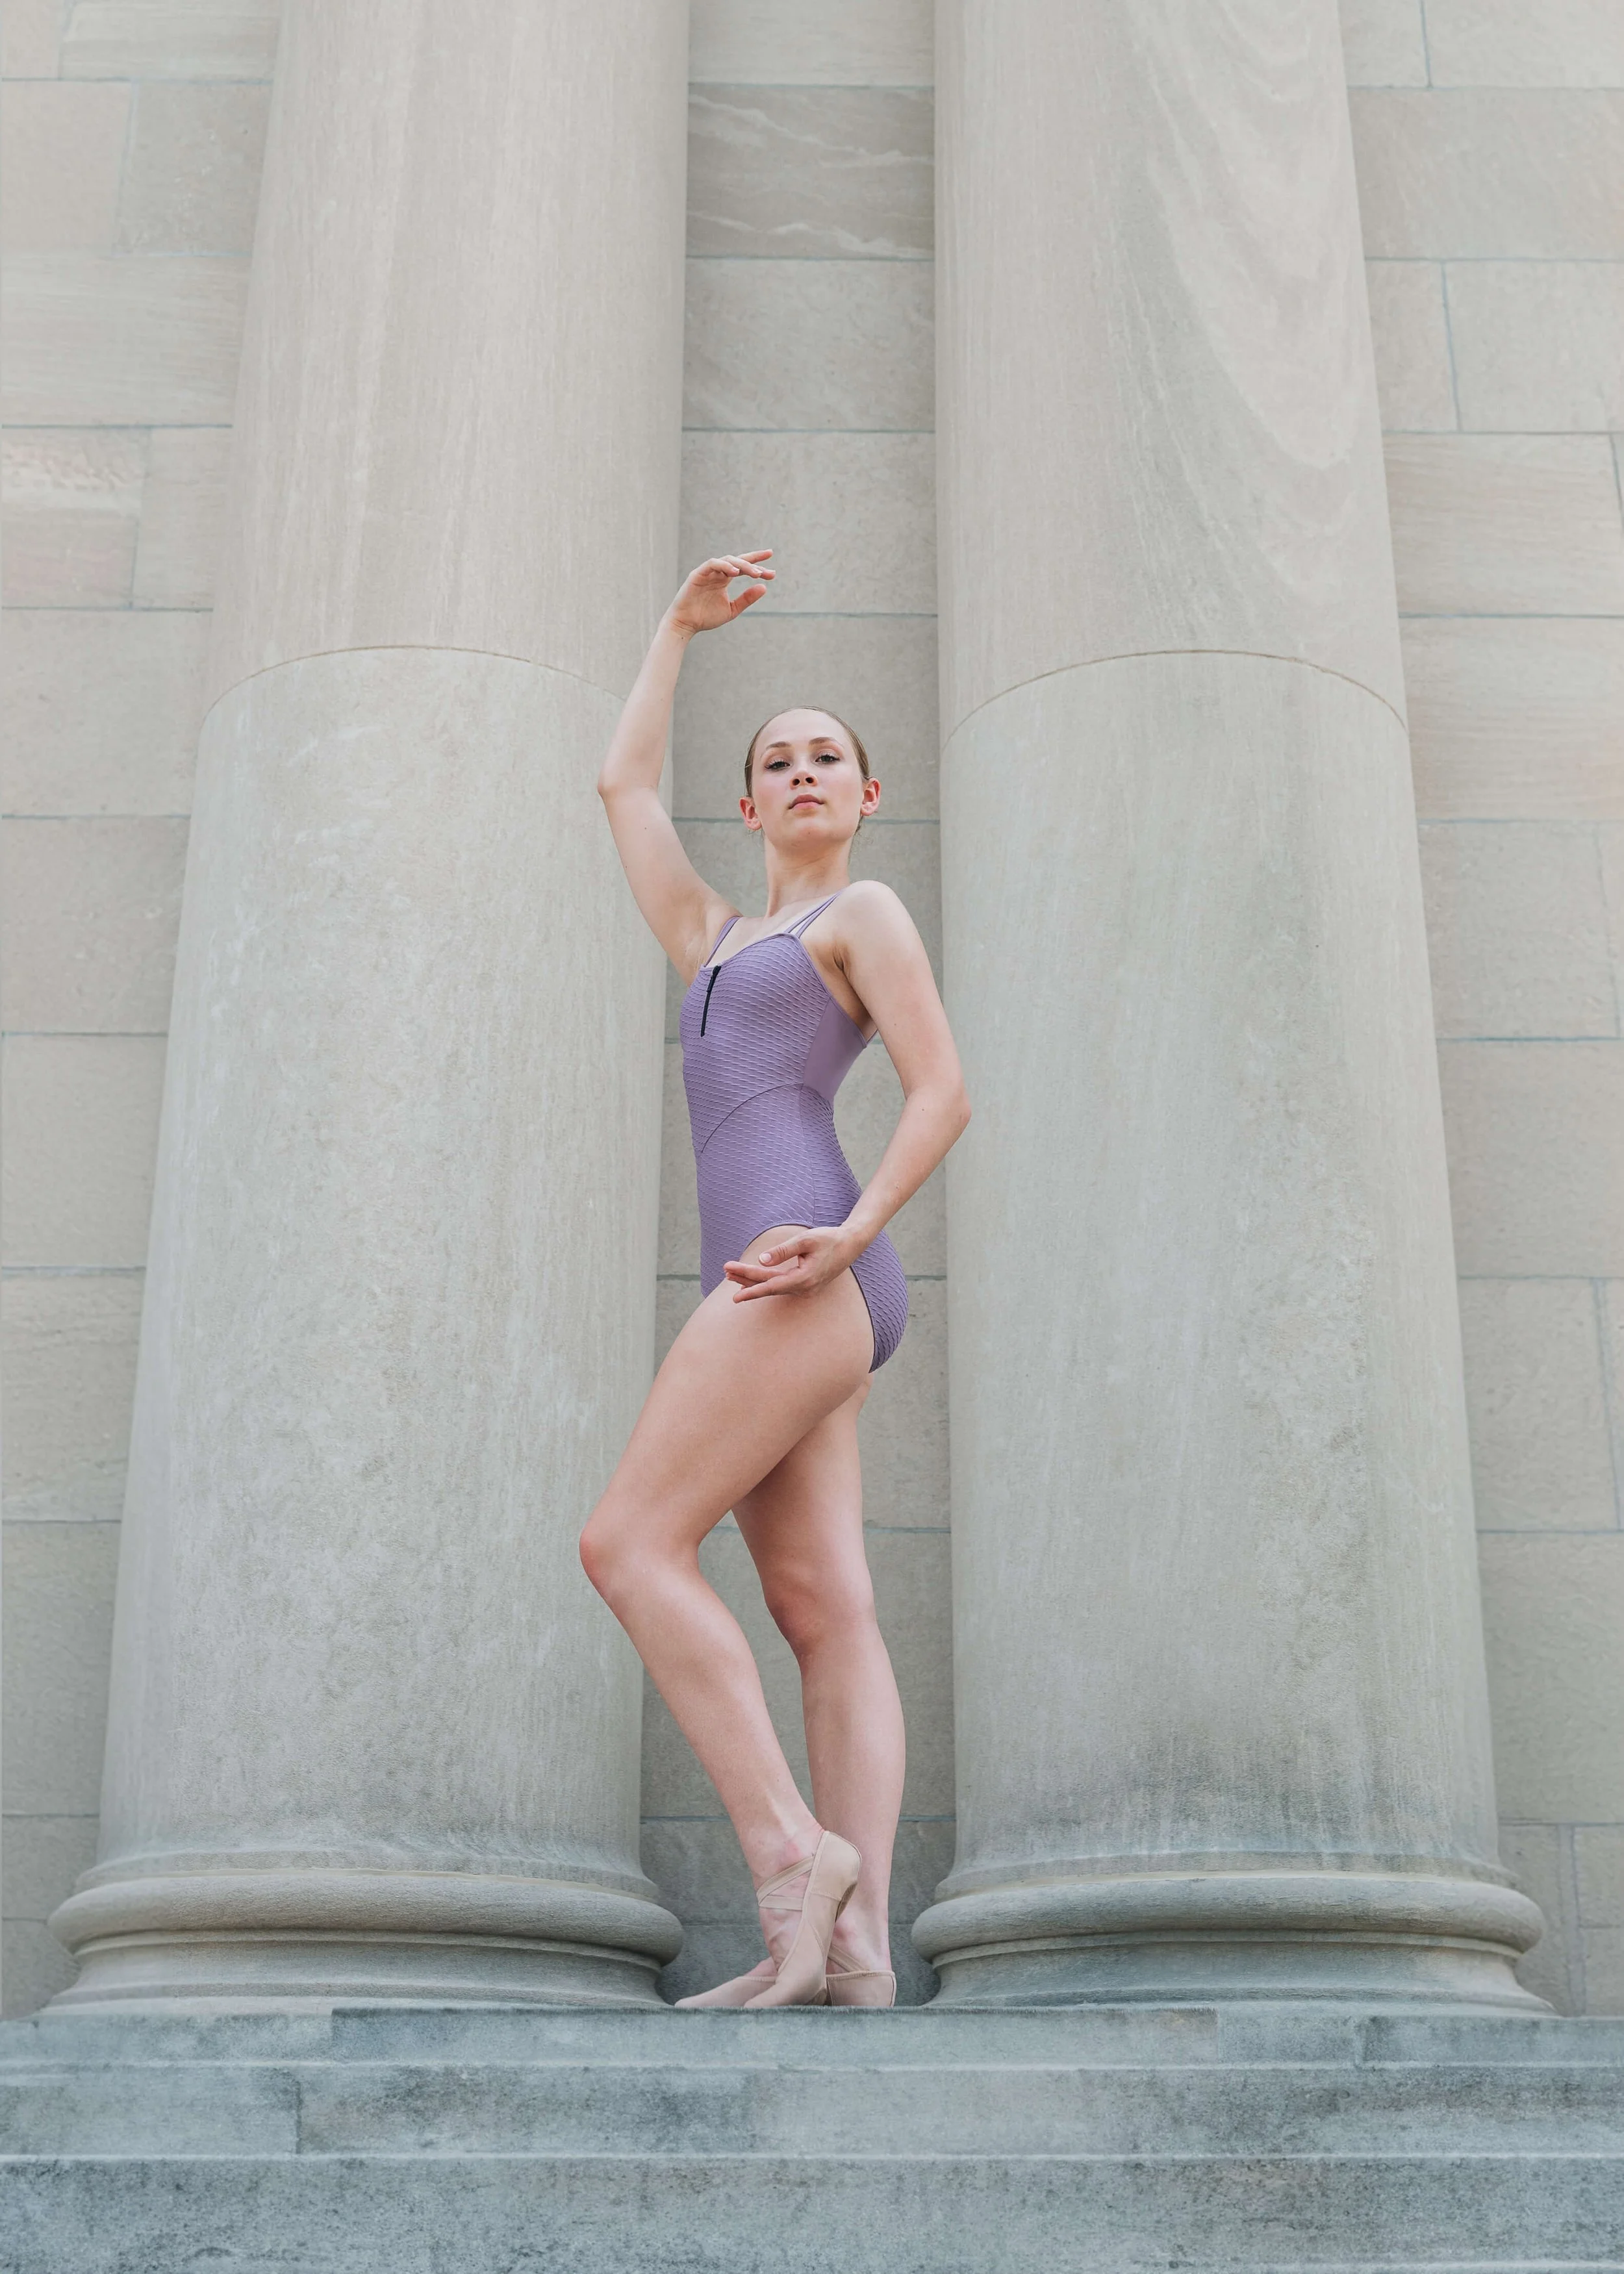
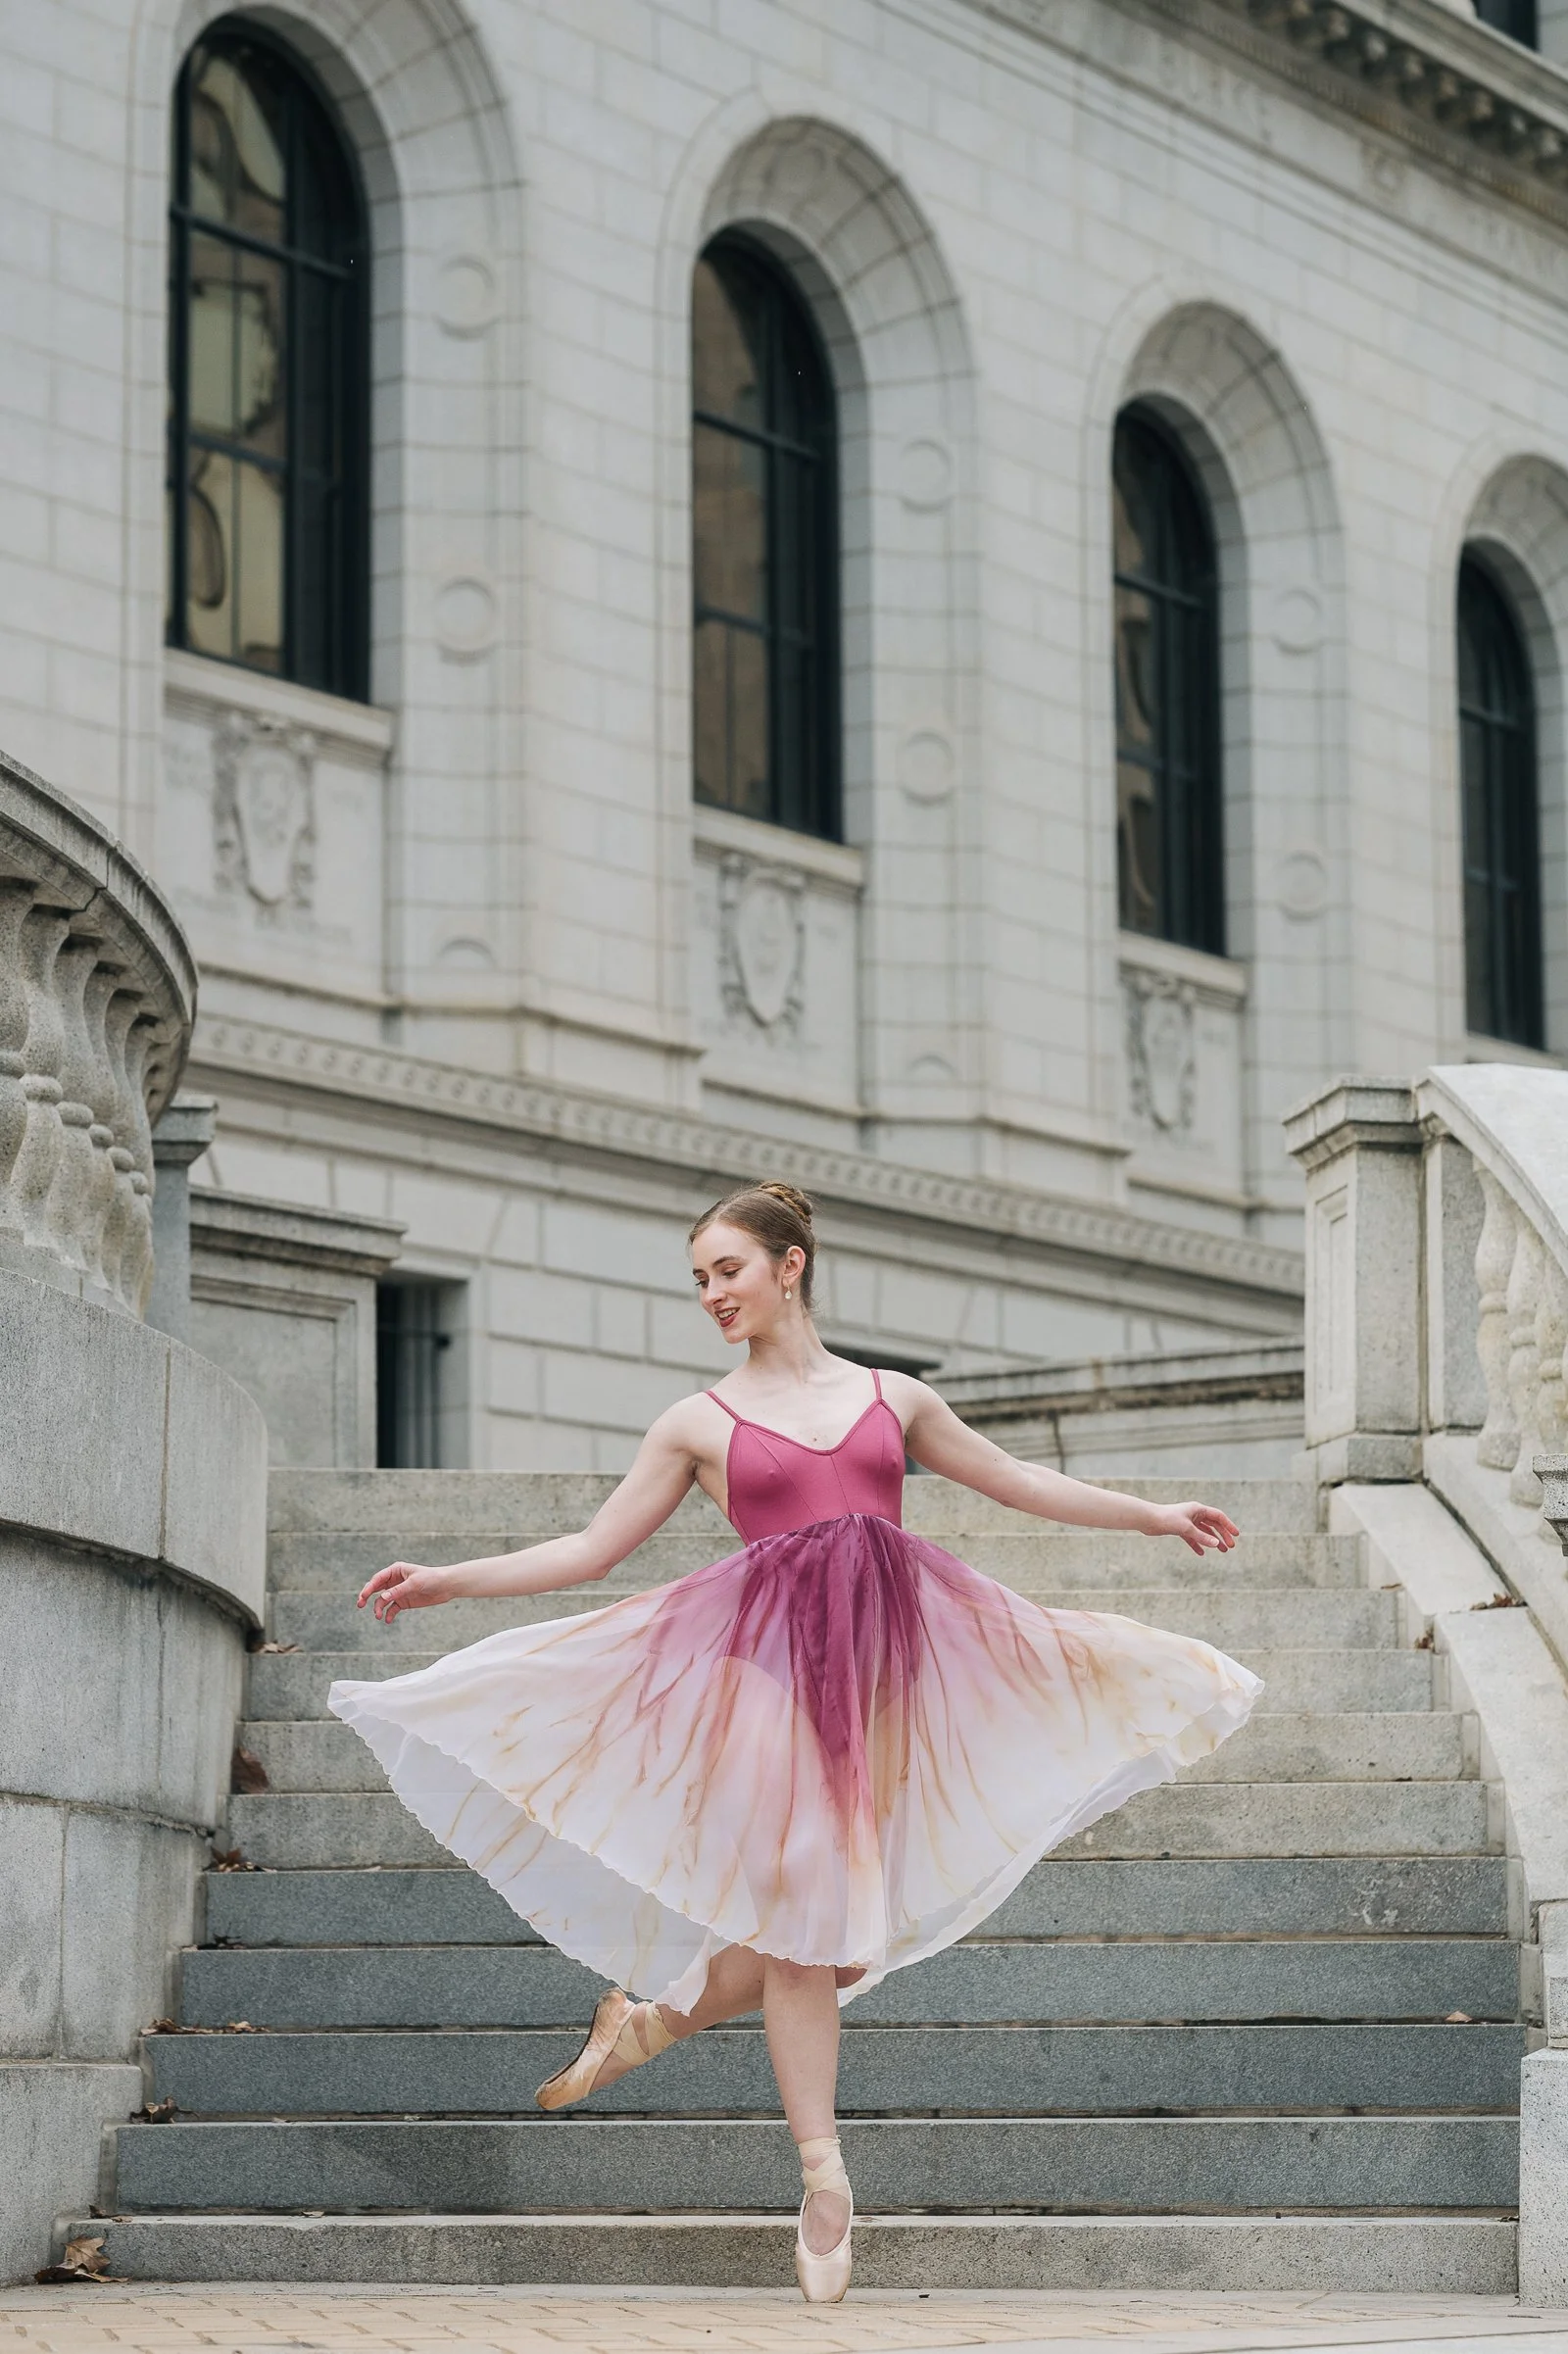
Approaching your poses while moving through it may look differently than class. Let’s take approaching a classic first arabesque for audition photos, for example. More times than not, the approach is much smoother to find your sous-sus and your port de bras in first, then simply lift the leg to arabesque, rather than piquing into your arabesque. There’s a lot more ease into the motion of lifting one leg instead of focusing on too many moving parts.
Avoiding tension: Keep breathing and stay relaxed to maintain natural, effortless energy.
Exploring Dance Poses That Work For You
Start Simple and Build:
In my dance sessions, I set up the shoot to flow similarly to a dance class. Warming up, two feet on the ground with gentler movements, building up to one leg, higher height, bigger poses, into jumps and more technical movements.
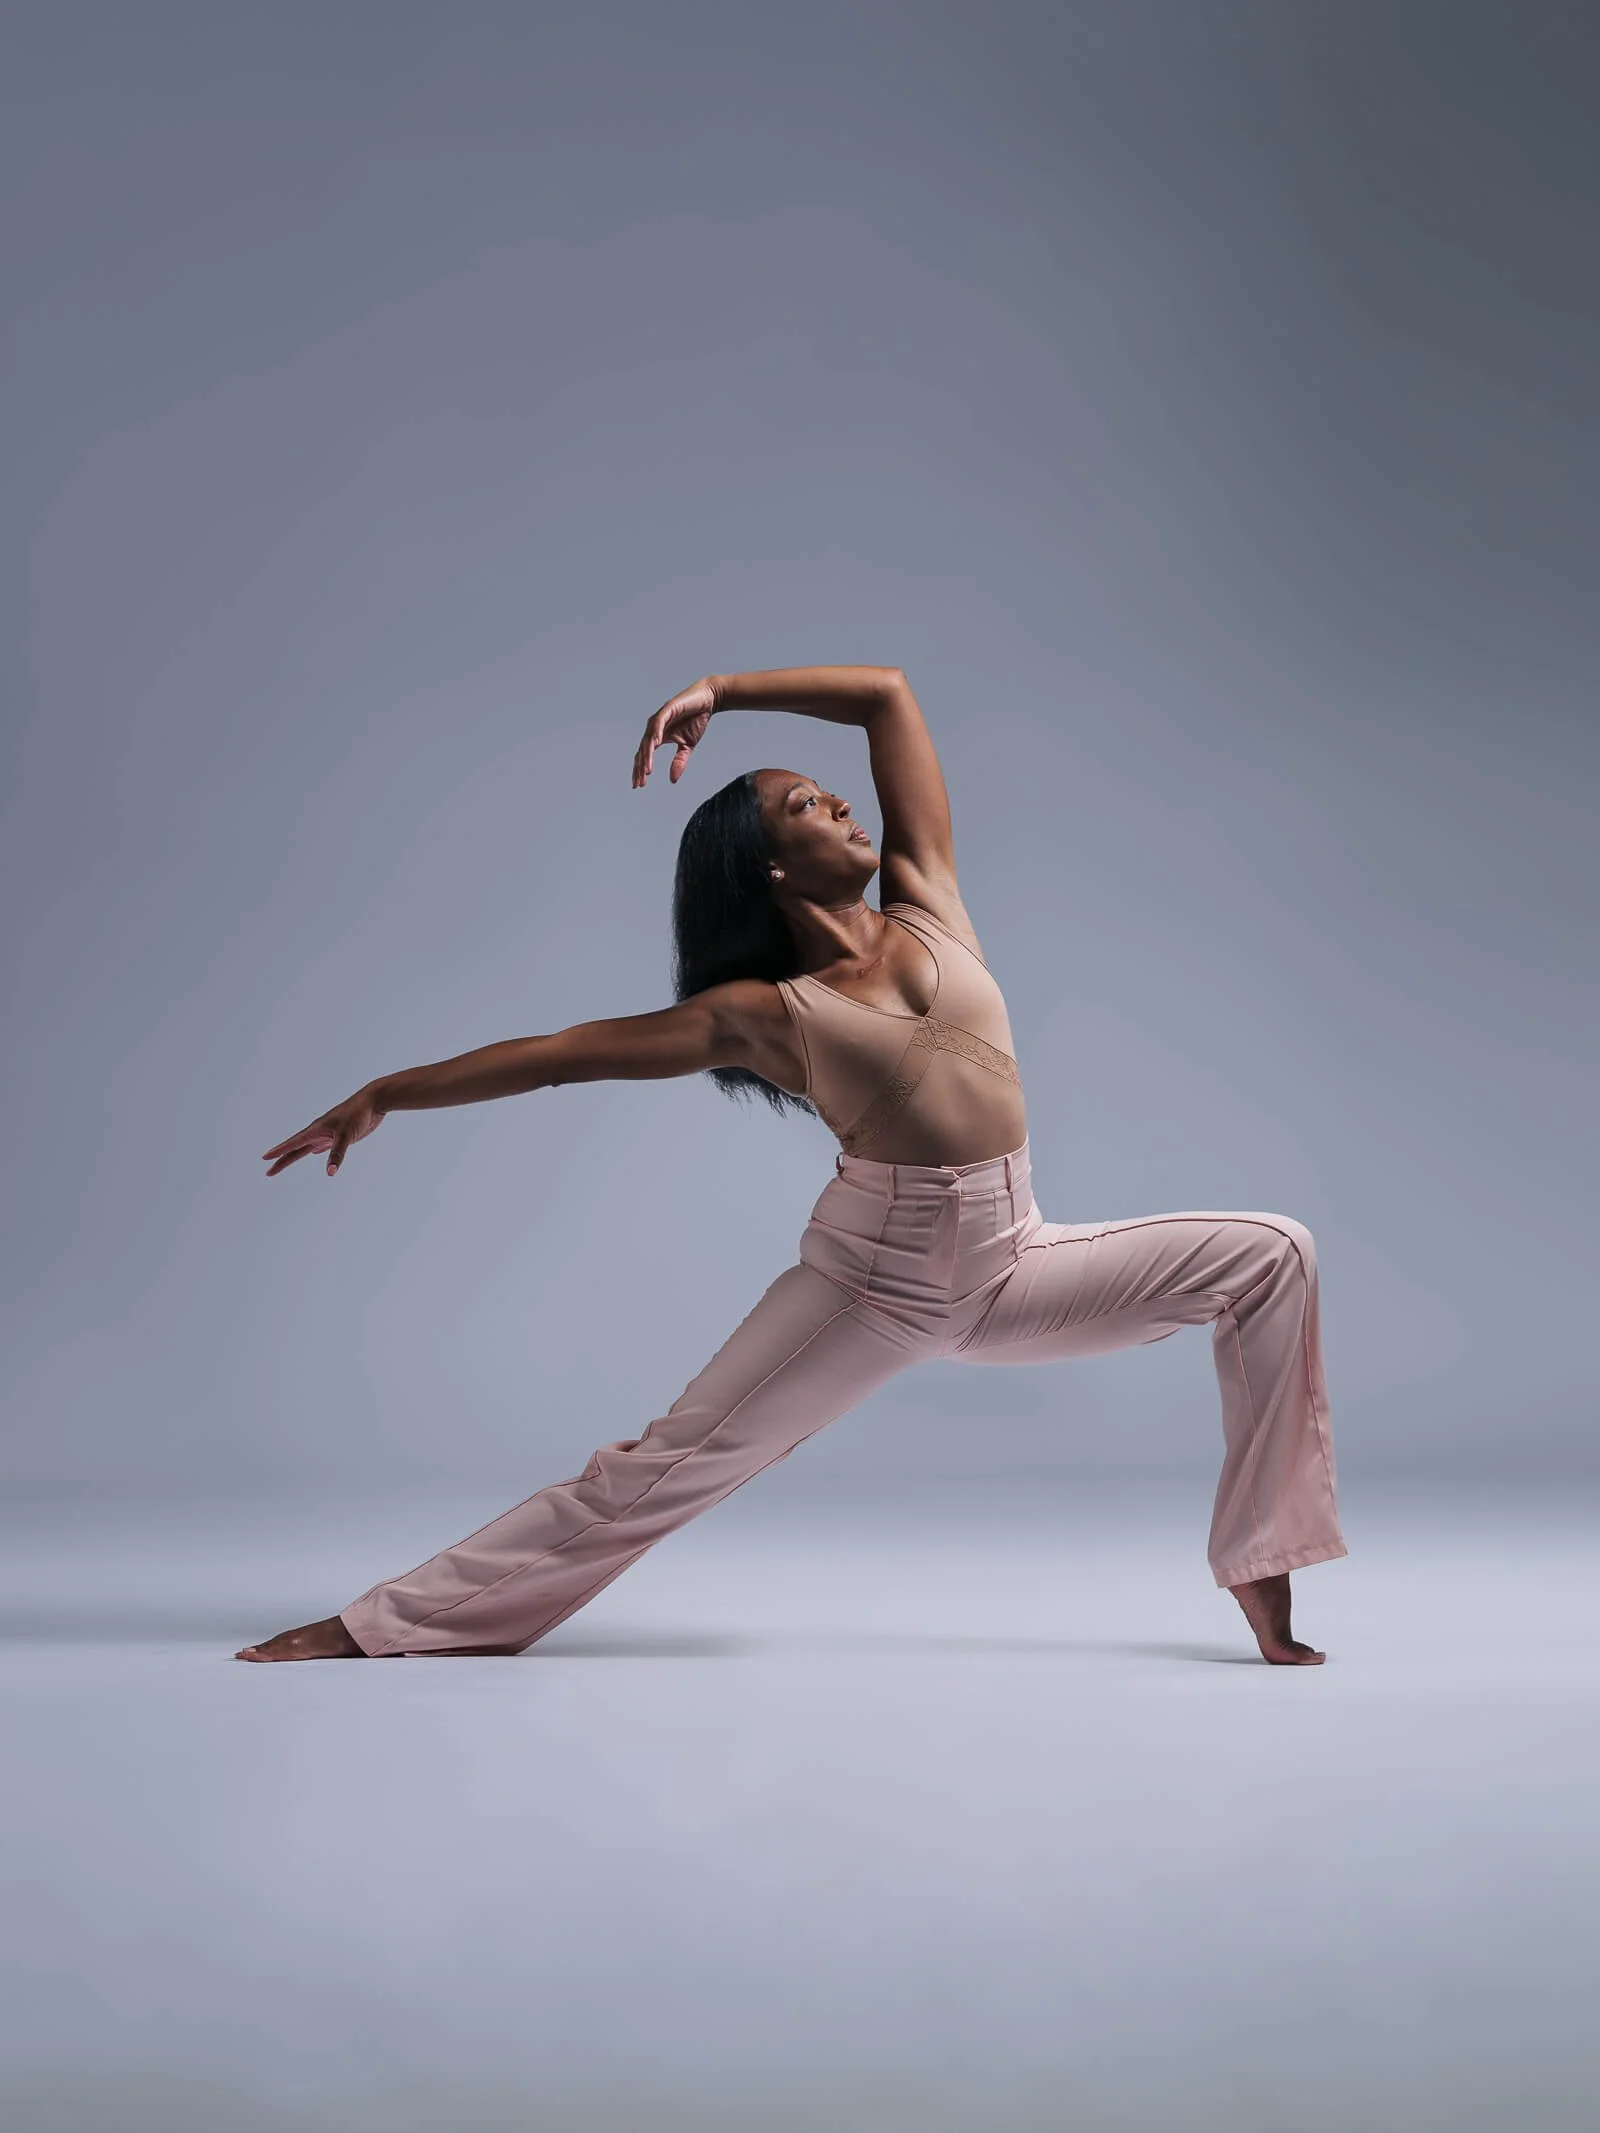
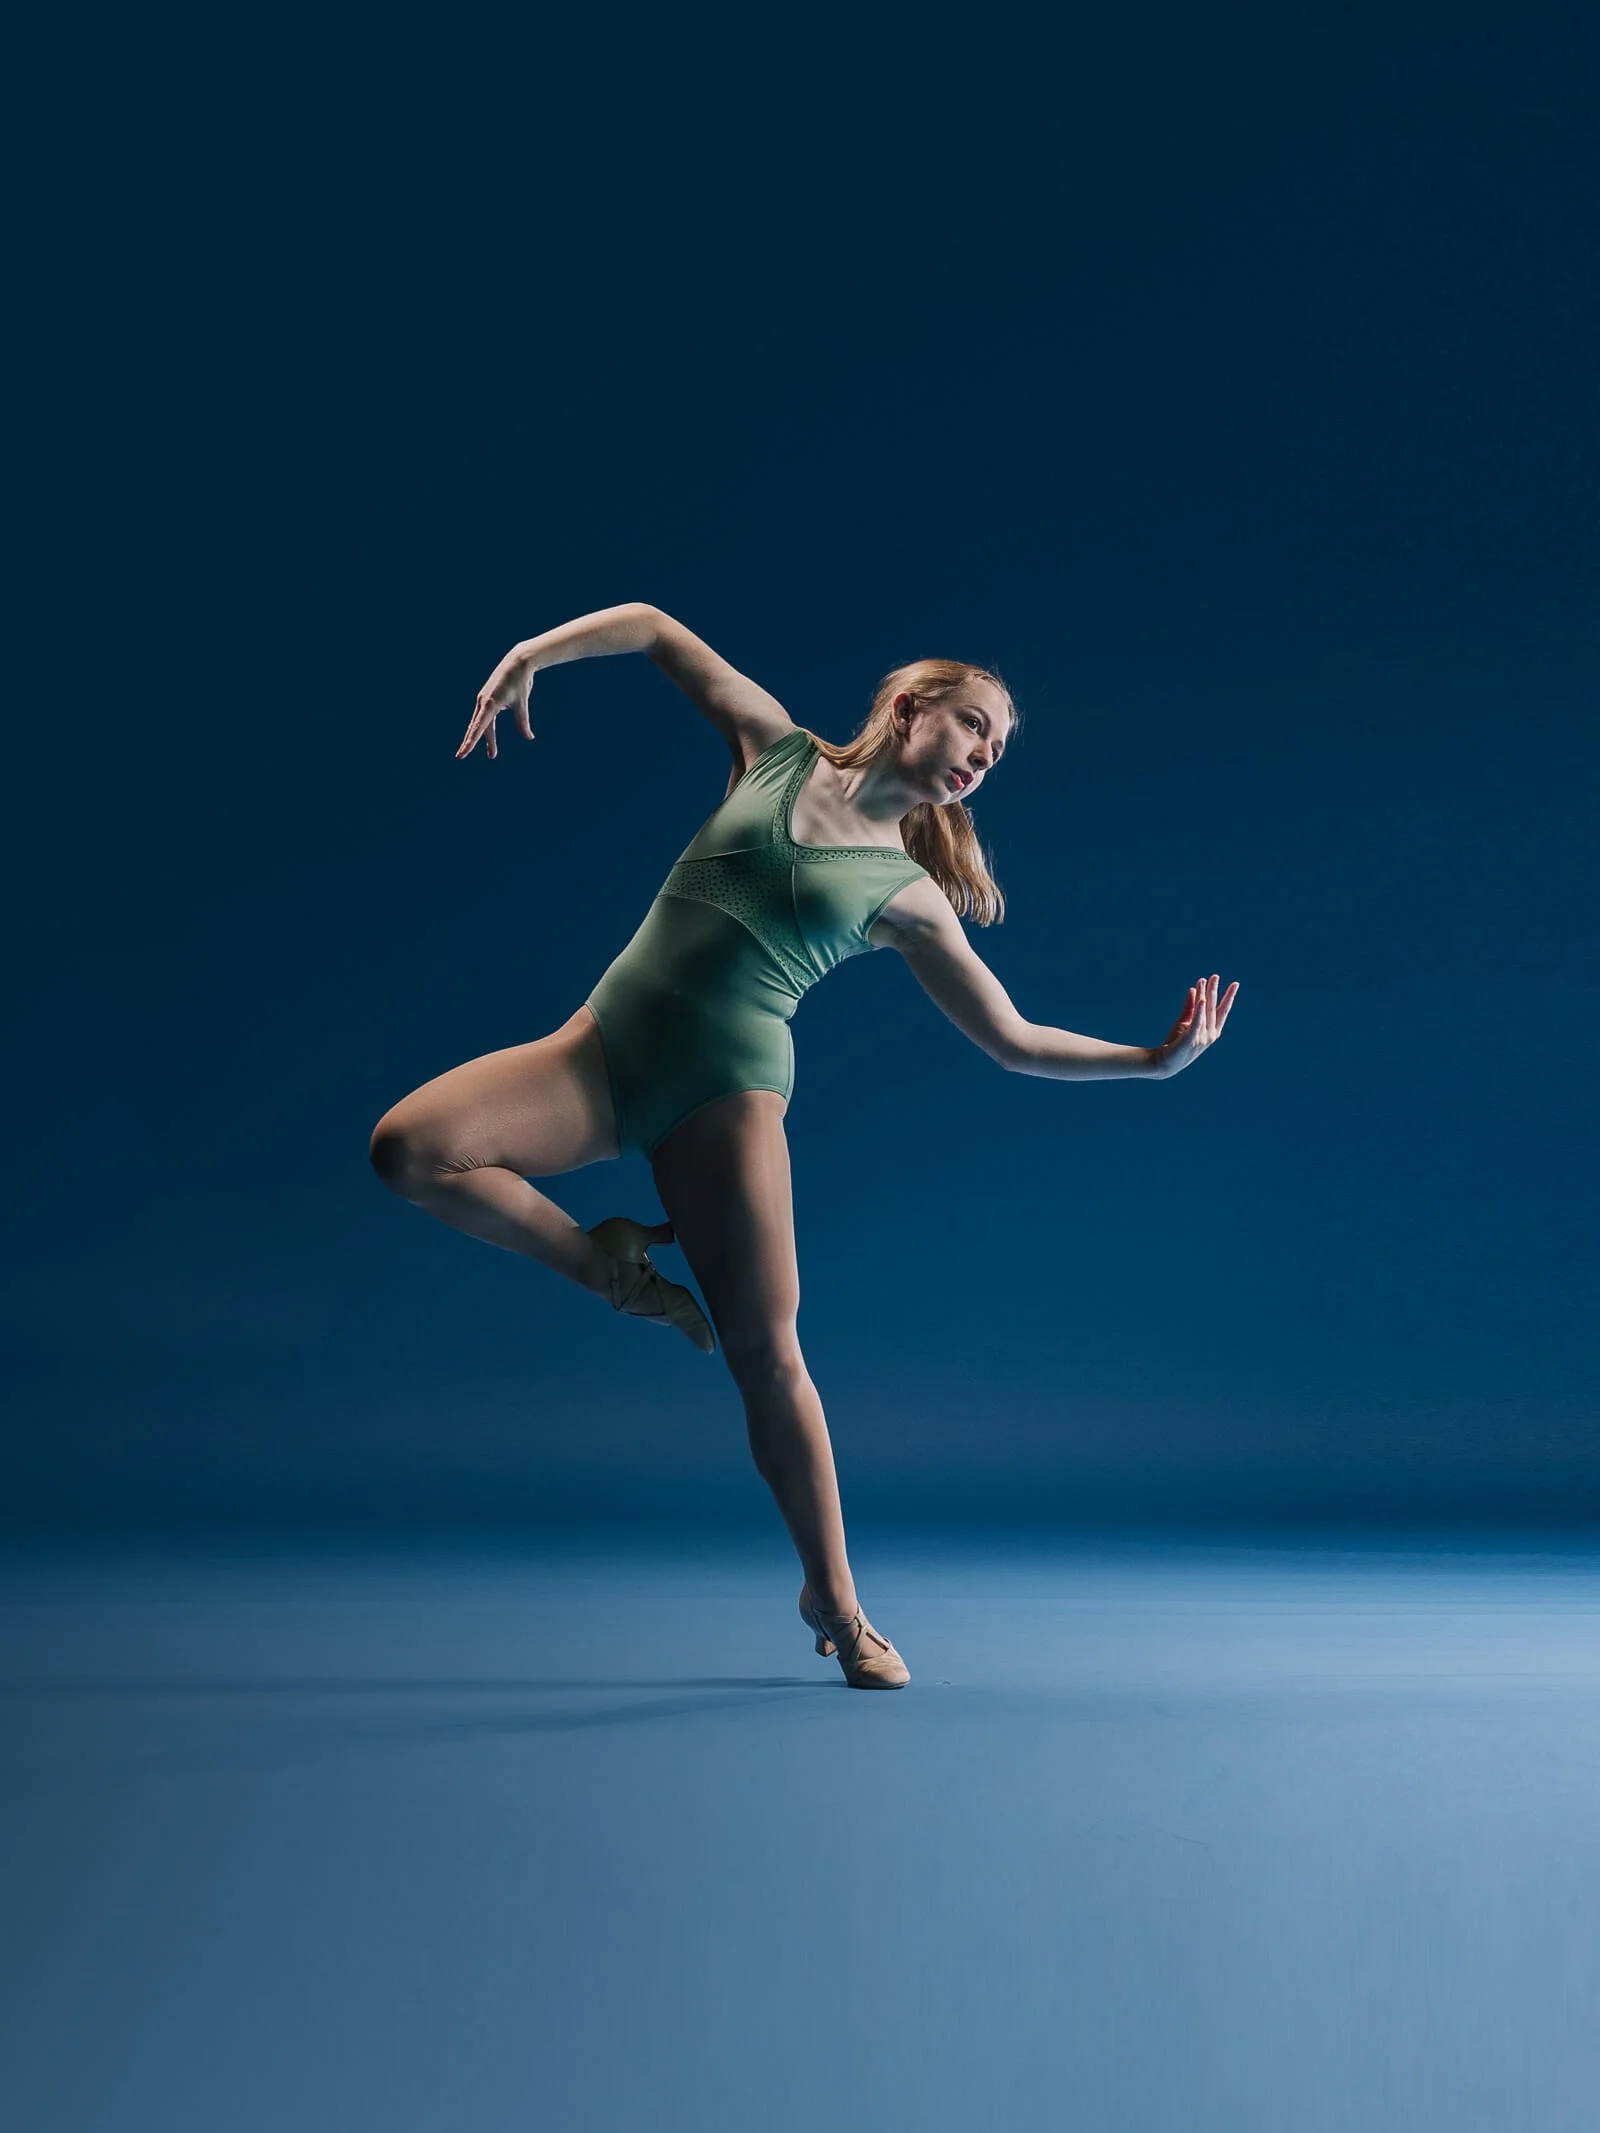
If you’re unsure of where to begin, find a clean, simple line and experiment with port de bras to discover new shapes. (for example, tendu derriere with your front leg in plié. Simple to execute and you can explore all kinds of variations with your arms and head)
Subtle variations in arms and head angles can create fresh looks even while maintaining the same shape with your lower half.
Take the mindset of finding a solid base when your leg and feet lines look excellent and explore different shapes of the arms.
This approach is great for all levels of dancer to capture some really beautiful images.
Allow yourself some breaks between more technically challenging poses to maintain your focus, energy, and stamina.
If you need to take a break, grab a drink of water, do some dynamic stretching, or take some long, deep breaths to get oxygen to your brain and body and to relax.
Angles and Negative Space
Experiment With Angles:
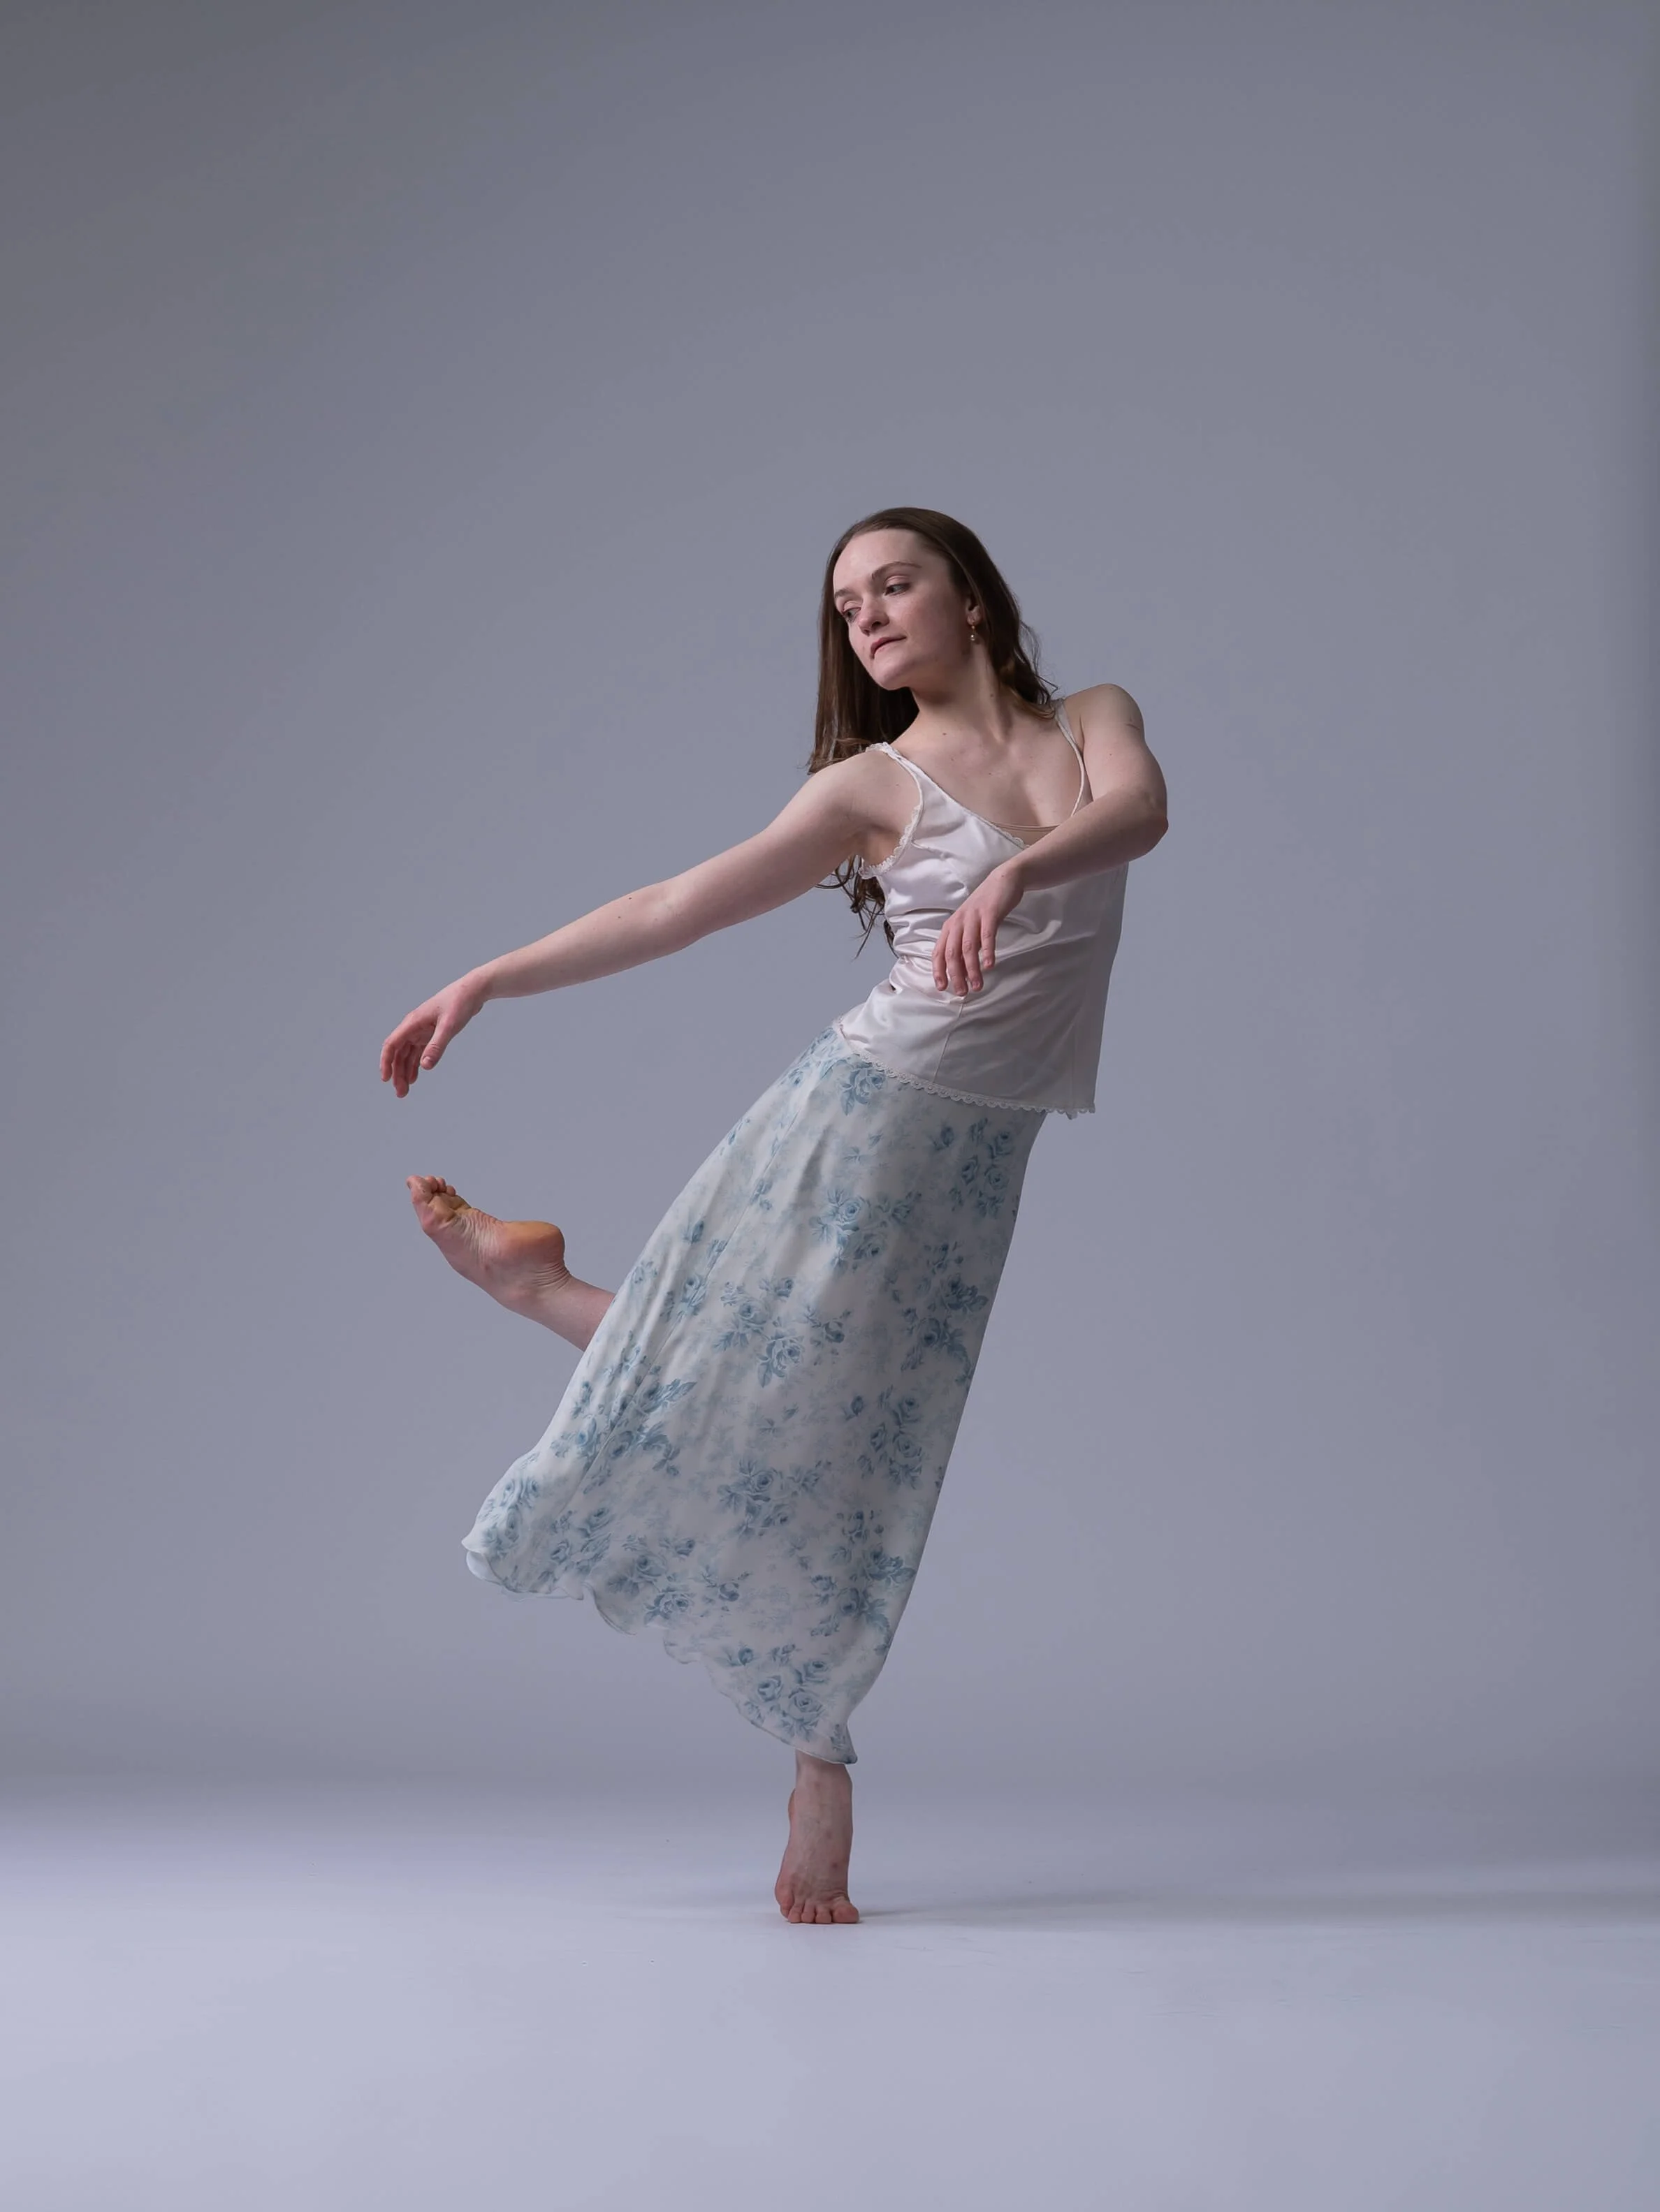
Try shifting your pose to face upstage, adjusting the angle of your feet and hips, or change the angle of your head/focus.
Subtle shifts in posture can make a big difference in the final image.
When posing straight to the side, be sure to angle your face a few degrees toward the camera, so the camera catches the color in your eyes, and not just the whites of your eyes. Seeing your eyes and your facial expression will make a bigger impact on connecting with whoever is looking at your photo (especially important for audition photos!)
Use Negative Space:
Emphasize long arms and clean lines.
Create poses with open spaces to avoid awkward or compressed angles, which don’t always photograph in a flattering way.
Utilizing Improvisation Effectively
Structured Freedom:
Use improvisation thoughtfully rather than moving aimlessly.
It’s a nerve racking experience to have anyone say, “okay now improv!” Where do you begin? You start overthinking what you’re doing and end up hitting all of your go to improv-isms. A lot of the time, this aimless improv method does not photograph well.
Instead, try moving with intention. Set a structure for yourself and allow your improv to move slowly. Be deliberate with your shapes and think less in movement and more in the realm of negative space, shape based movement, and feeling and you will end up with improvisation photos 100x better than you movement that lacks intention.
Start with a base pose and add gradual movements to find unique moments.
Draw from movement you already are familiar with
Take your favorite chunk of choreography from a combo or dance you’re working on in class or rehearsal
Finding Inspiration:
Incorporate your personal style and strengths into improvisational explorations.
Practice improvisation at home before your shoot.
When you feel more confident in improv, it will feel more comfortable in your body when you step in front of the camera.
Keep in mind when practicing your improv at home: jot down your strengths in dance, how can you incorporate that into your improvisation? Create improv prompts for yourself to draw out more of your personality or to get yourself moving in a different way.
Need help coming up with prompts for improv? Check out this article.
Preparing to Finesse Each Pose
Repetition and Micro Adjustments:
Expect to refine poses multiple times throughout the shoot.
Break down poses into parts: establish leg and foot positioning first, then layer in port de bras and expression.
Muscle memory is key. You want to feel confident and ease with each movement. This is why we begin from the bottom of the shape to the top.
Have an Open Mind:
Stay open to trying different options, even if it isn't what you expected.
Not every single dance step necessarily translates to a photograph in a flattering way.
Having a photographer with a background or understanding in dance can help you adjust your pose if it isn’t quite translating that way you’d like on camera.
Patience Pays Off:
Allow for micro-adjustments and collaboration with the photographer.
No matter where you are in your dance journey, there is always an adjustment period for getting used to taking dance steps and turning them into a pose for the camera. It will take time to adjust, but with patience and trust in the process, you will walk away with stunning dance photos.
Even the most seasoned professionals take the time to get it right in camera.
Showcasing Your Strengths
Stay Authentic:
Build your inspiration board with intention
Use a clarity worksheet to get clear on your goals for your dancing, for these photos, and what you’d like to showcase in this shoot.
Create your inspiration mood board based on your strengths and favorite dance steps, not just going to Pinterest and saving every cool looking dance shoot.
Understand WHY you’re saving the images that you’re putting on your inspiration board. Is it the movement in the photo? Is it the actual pose? The lighting? Take notes of those things too.
Avoid imitating poses beyond your technical ability. This will save you time and frustration and will prevent potential injury.
You can always create a separate inspiration board for things that you would like to continue working toward for your next photoshoot.
Highlight Your Unique Style:
Focus on poses and movements that reflect your artistry and individuality.
Creating Connection
Emotional Expression:
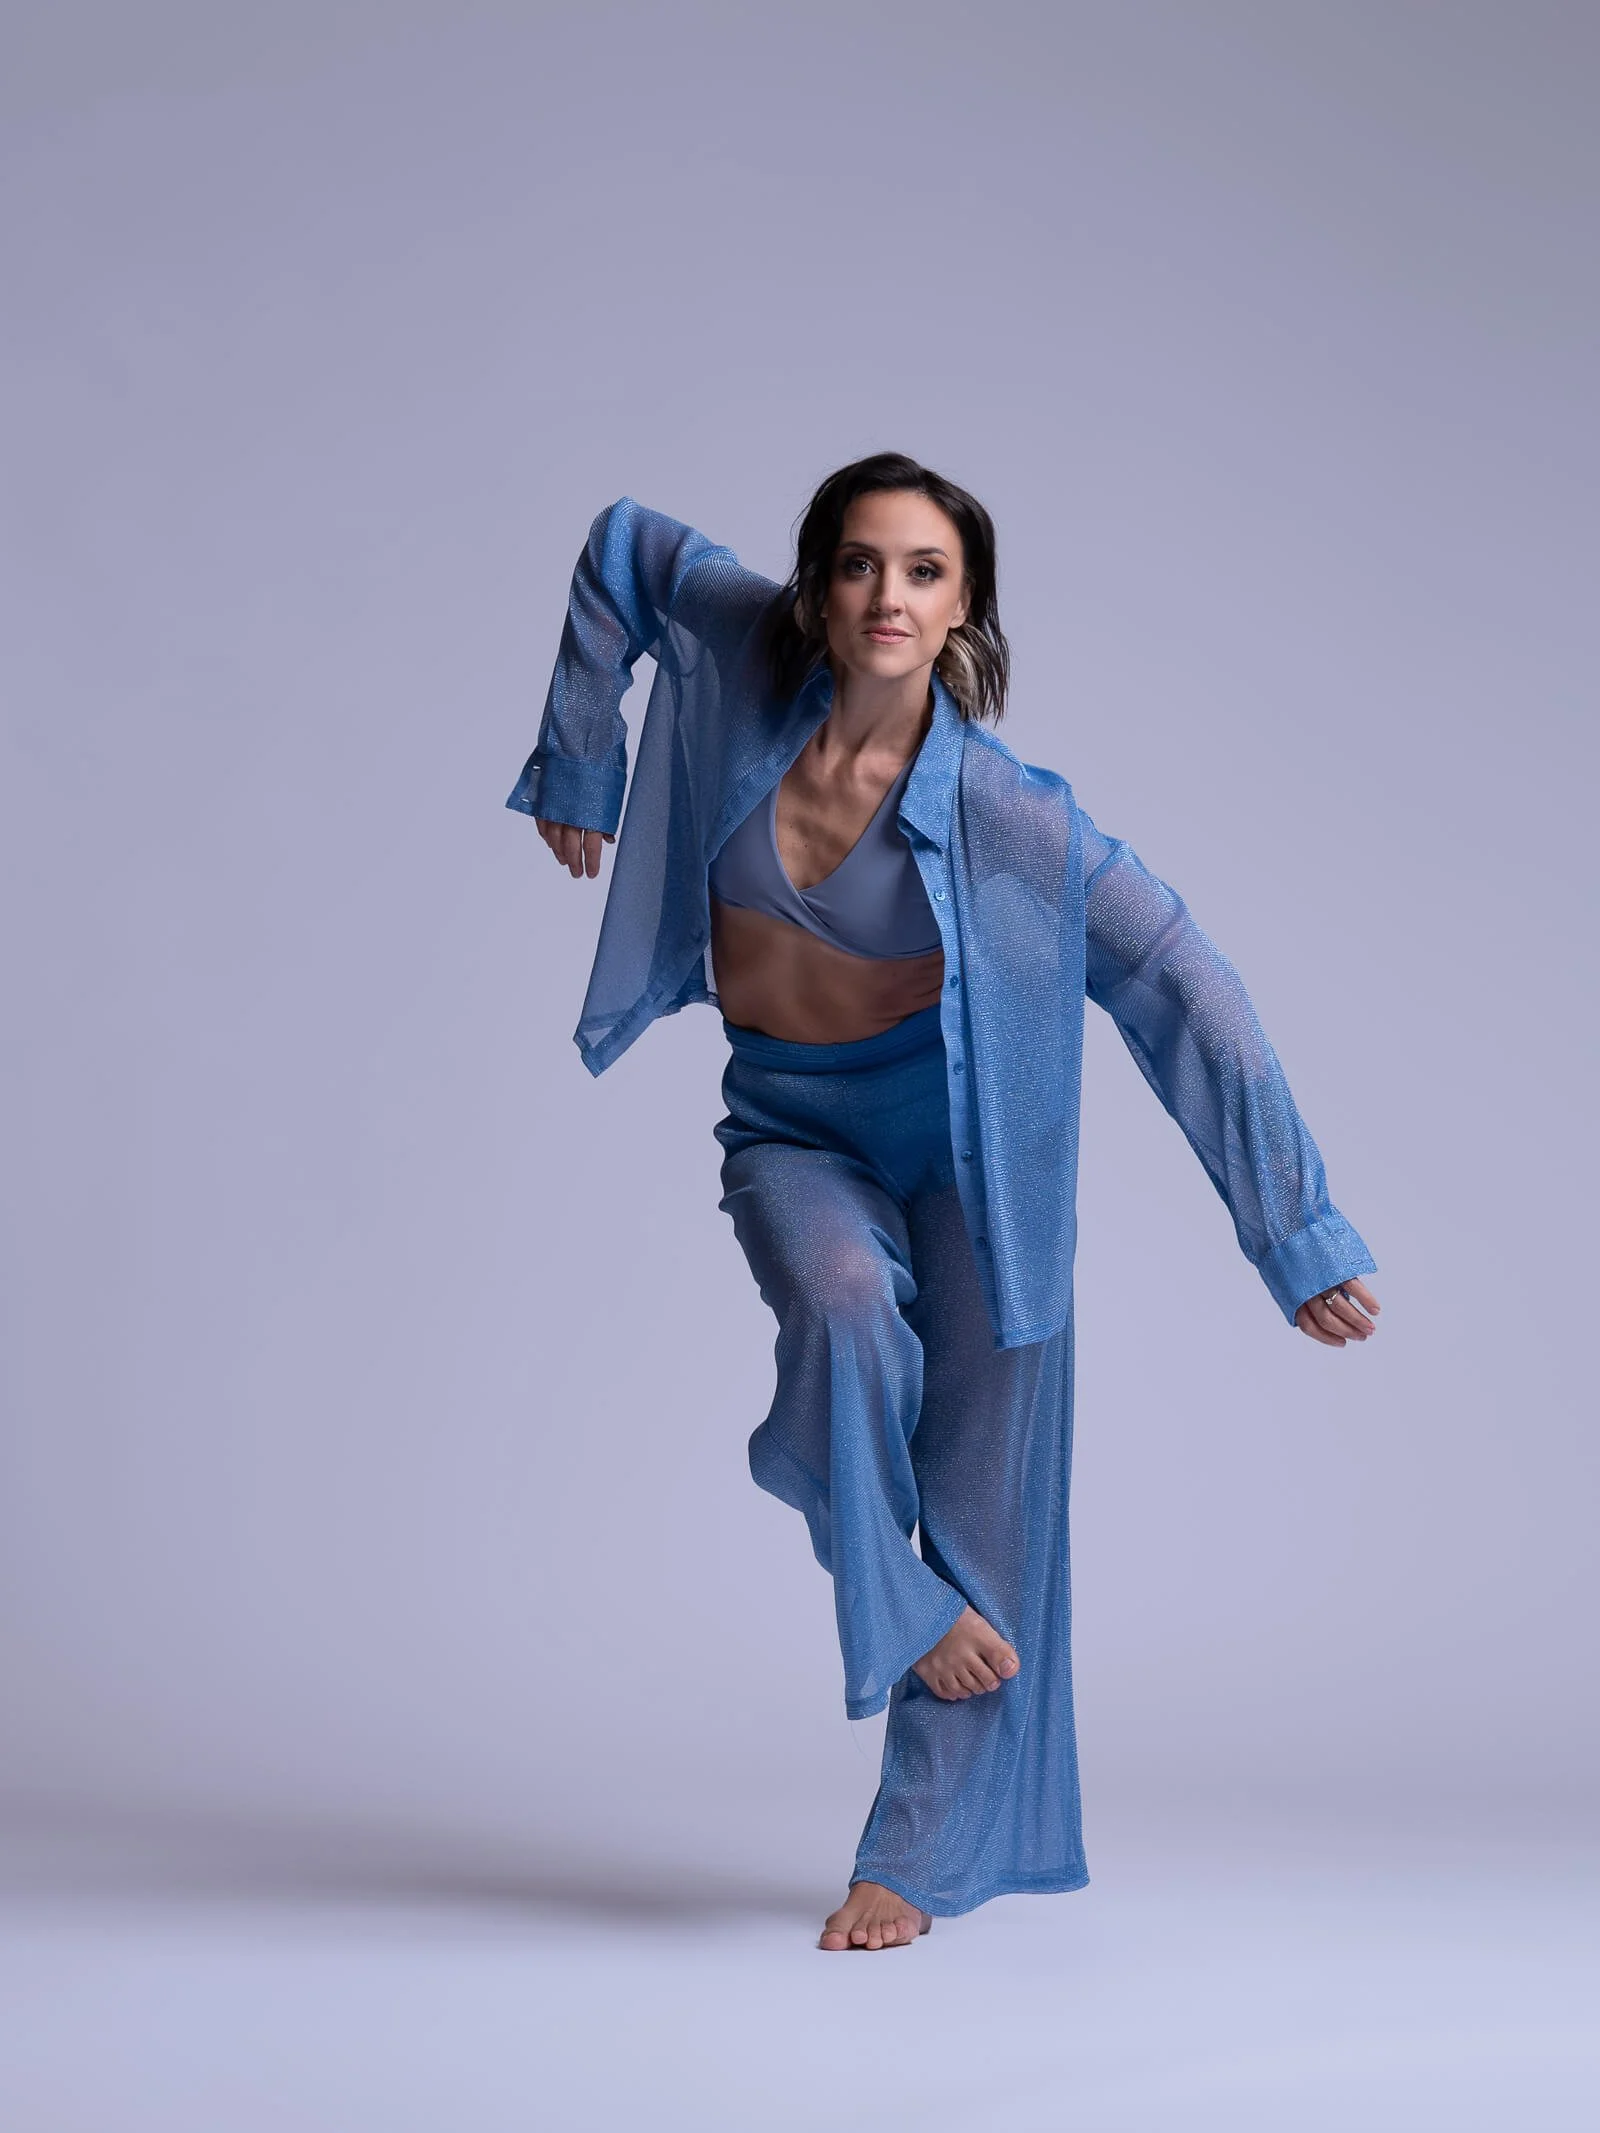
The one thing that really sets you apart from other lovely dance photos, is your connection to the camera.
Connecting emotionally to the camera is that extra layer that takes a photo from “wow, beautiful” to an engaging image that stops people dead in their tracks.
This is especially important when you’re submitting body shots for auditions. This may be a director’s first impression of you. And you can really see a lot about someone’s personality, demeanor, and essence with how you’re expressing yourself in your photos.
Here are a few tips for ensuring expressions feel authentic and engaging:
As you’re building your poses, keep in mind a few words you want to think about as you hit the pose for the camera
Keep your internal dialogue positive and confident
Turn on music that you really connect with
Imagine you are performing in front of an audience
Bring Your Dancing to Life:
Demonstrate how to blend technical precision with emotional depth for compelling photographs.
What makes a dancer’s body shot really stand out is blending your technical precision with emotional depth to create a compelling photograph.
Once the muscle memory has been established for a pose, similar to rehearsal, begin to let go of the many, many corrections, micro-adjustments, thoughts going through your head and trust your body and just dance.
As a static art form, you want your photos to convey your dynamic movement.
Striking the perfect pose in dance photography requires a mix of preparation, creativity, and patience. By understanding how to approach posing differently from class and rehearsal, experimenting with angles and negative space, and embracing both improvisation and repetition, you’ll be able to create captivating images that showcase your strengths and artistry. Remember, simple poses can be just as impactful as more technical ones, and connecting emotionally with your dancing for the camera can make all the difference. Most importantly, enjoy the process and trust your photographer to bring out your best moments. With these tips, you’re ready to approach your next photoshoot with confidence and poise.


